SSO Configuration
When you want to have SSO enabled in the dashboard, you need to follow these steps.
ℹ️
Please note IdP initiated SSO is not supported as it is more vulnerable to attack.
Requirements
After you complete registration process please make sure you have requested the SSO privileges for your account.
- SSO privileges must be assigned to your account
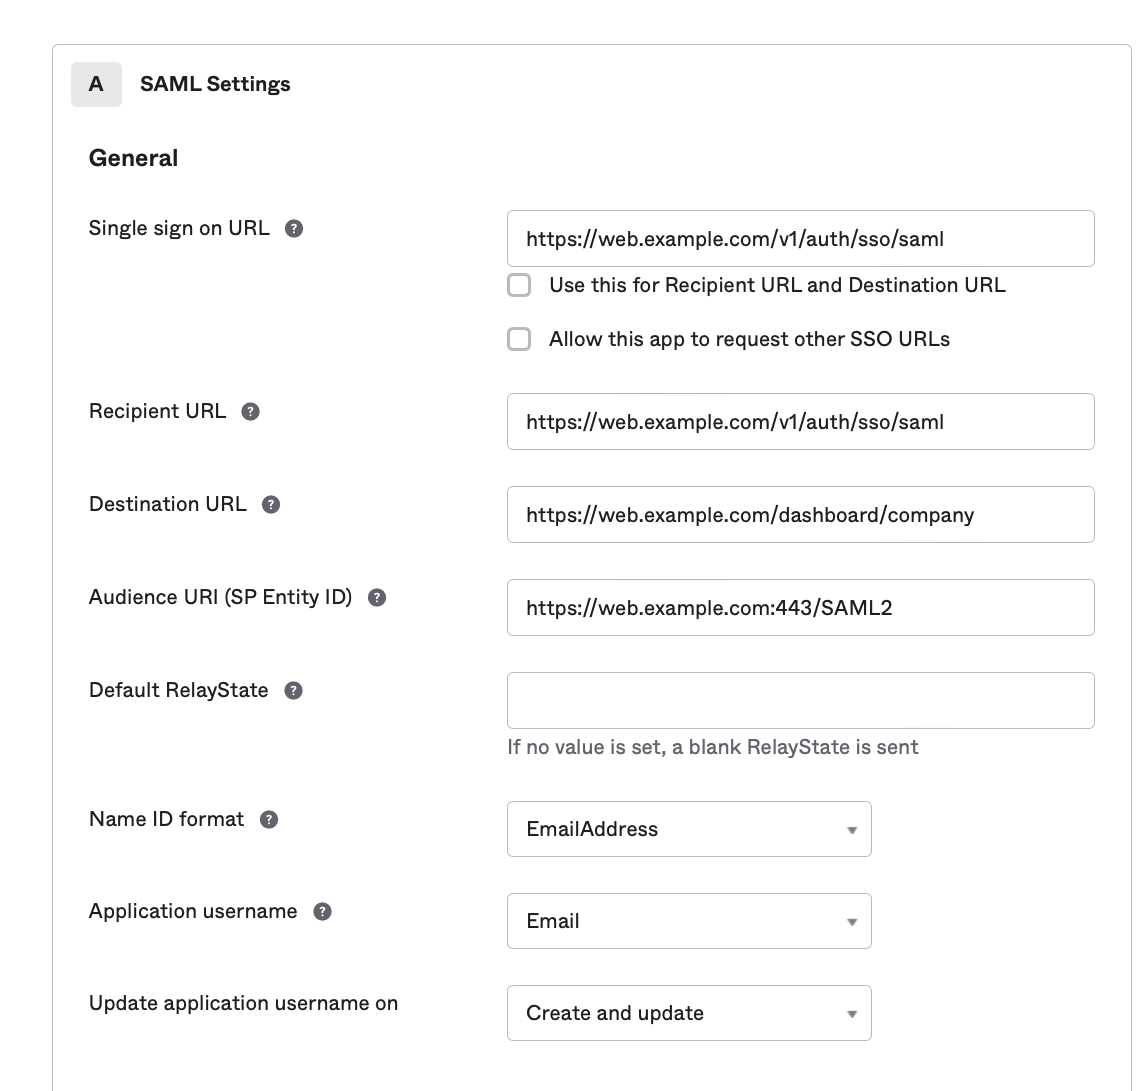
SAML Integration URLs
Single Sign On URL:
https://web.gamebench.net/v1/auth/sso/saml
Recipient URL:
https://web.gamebench.net/v1/auth/sso/saml
Destination URL:
https://web.gamebench.net/dashboard/company
Audience URI (SP Entity ID)
https://web.gamebench.net/SAML2
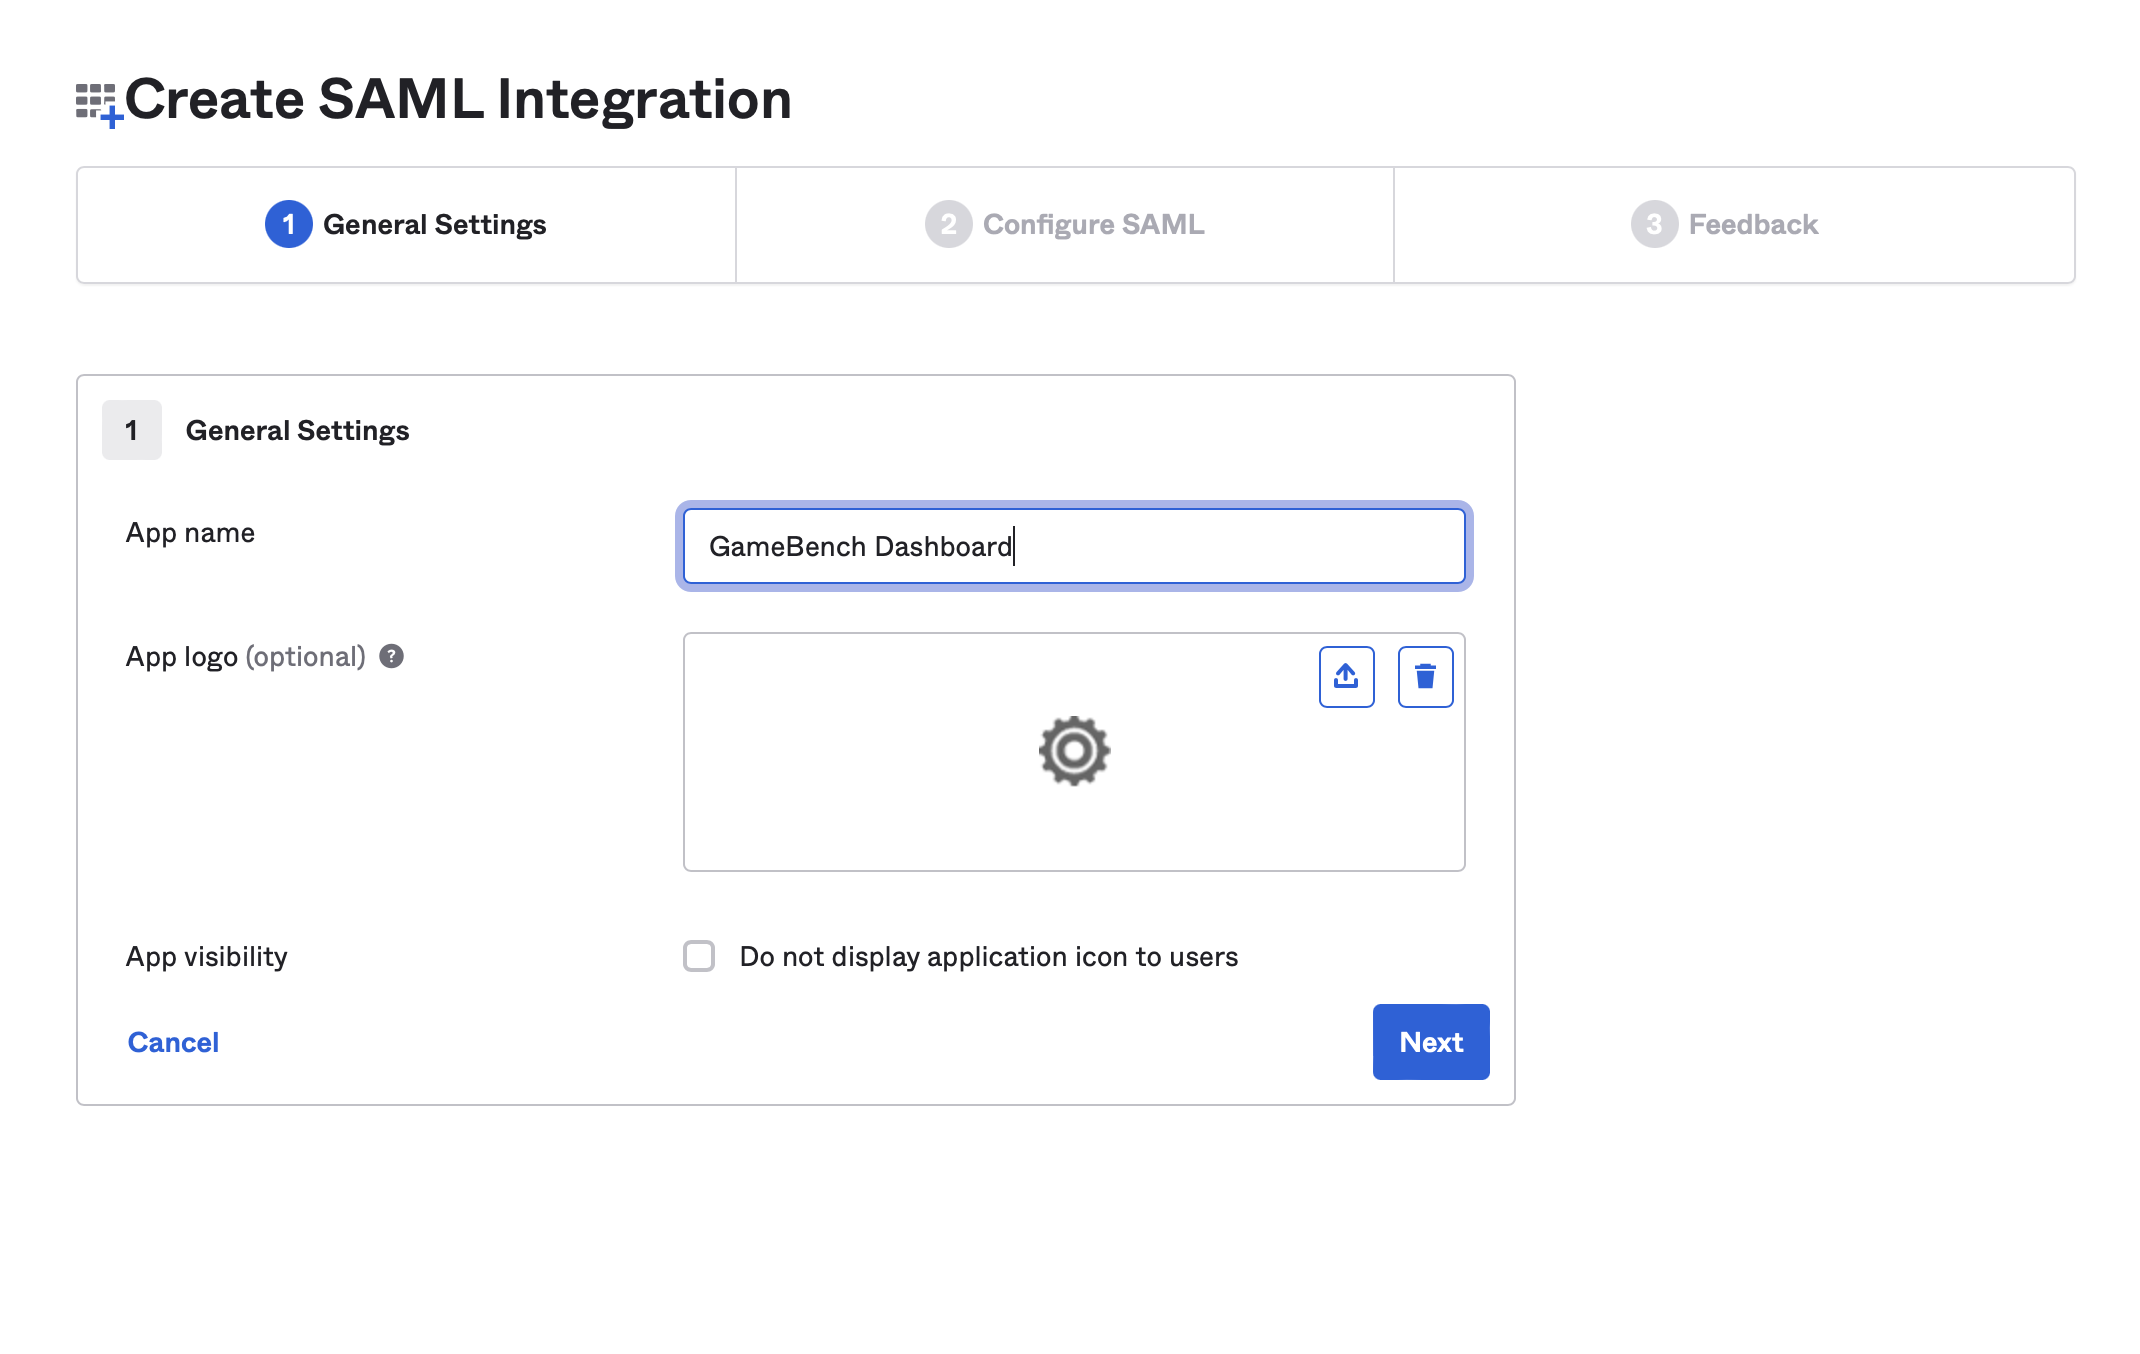
Okta Integration Example
- Navigate to Admin
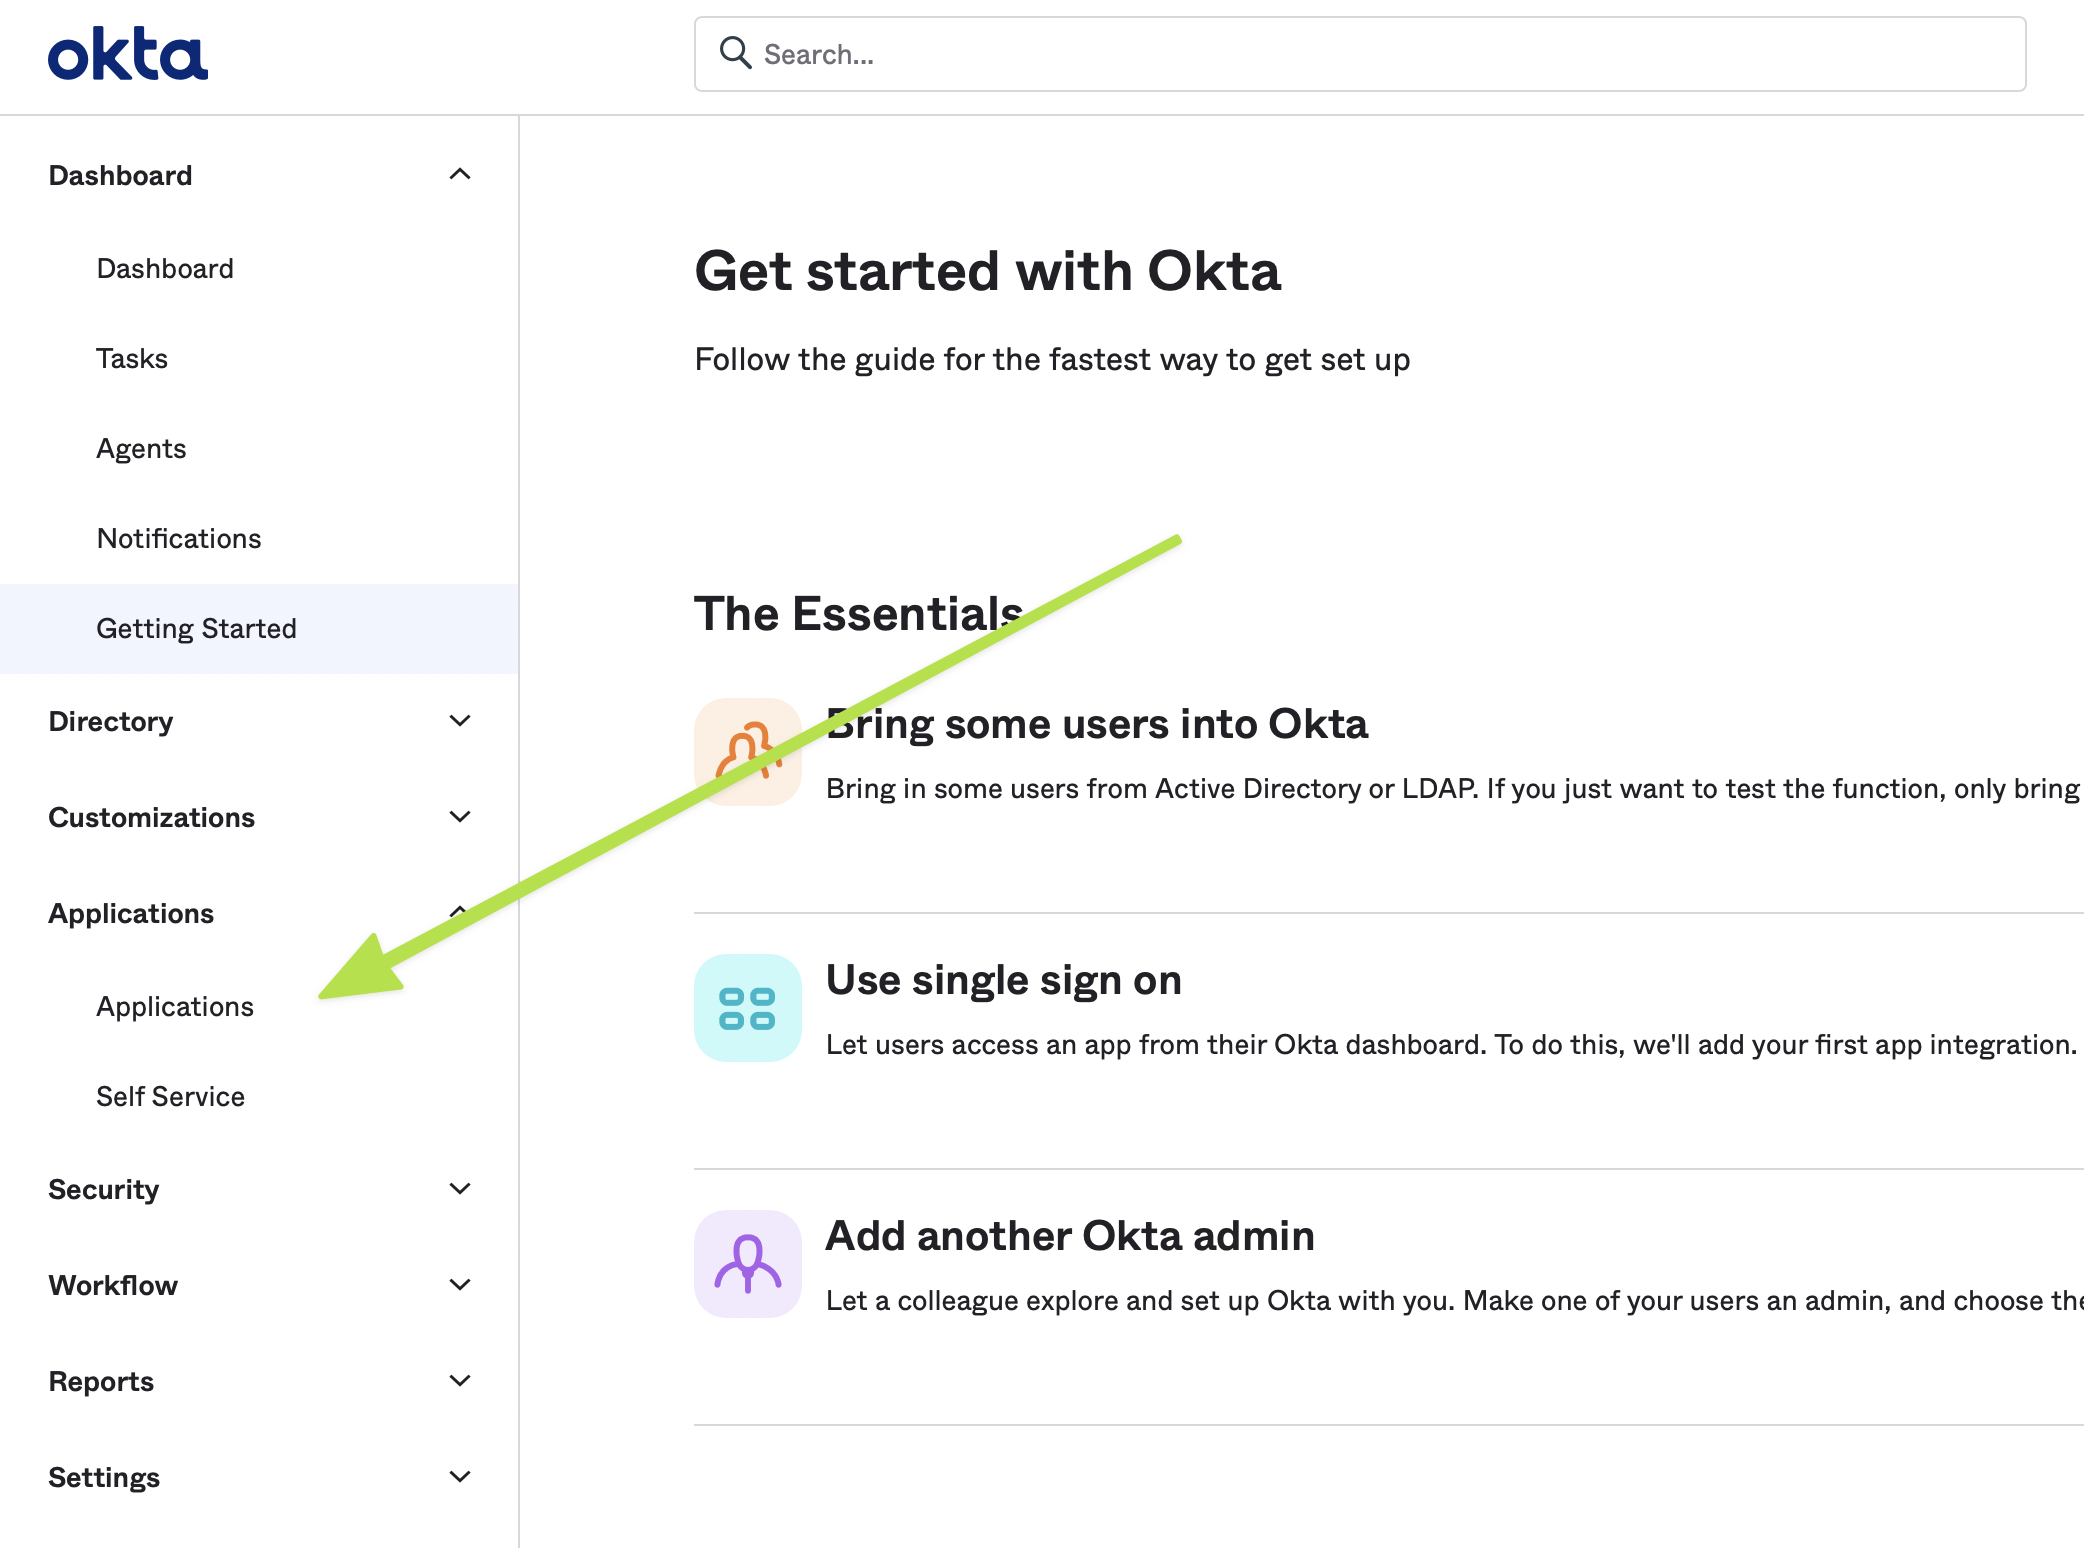
- Go to Applications
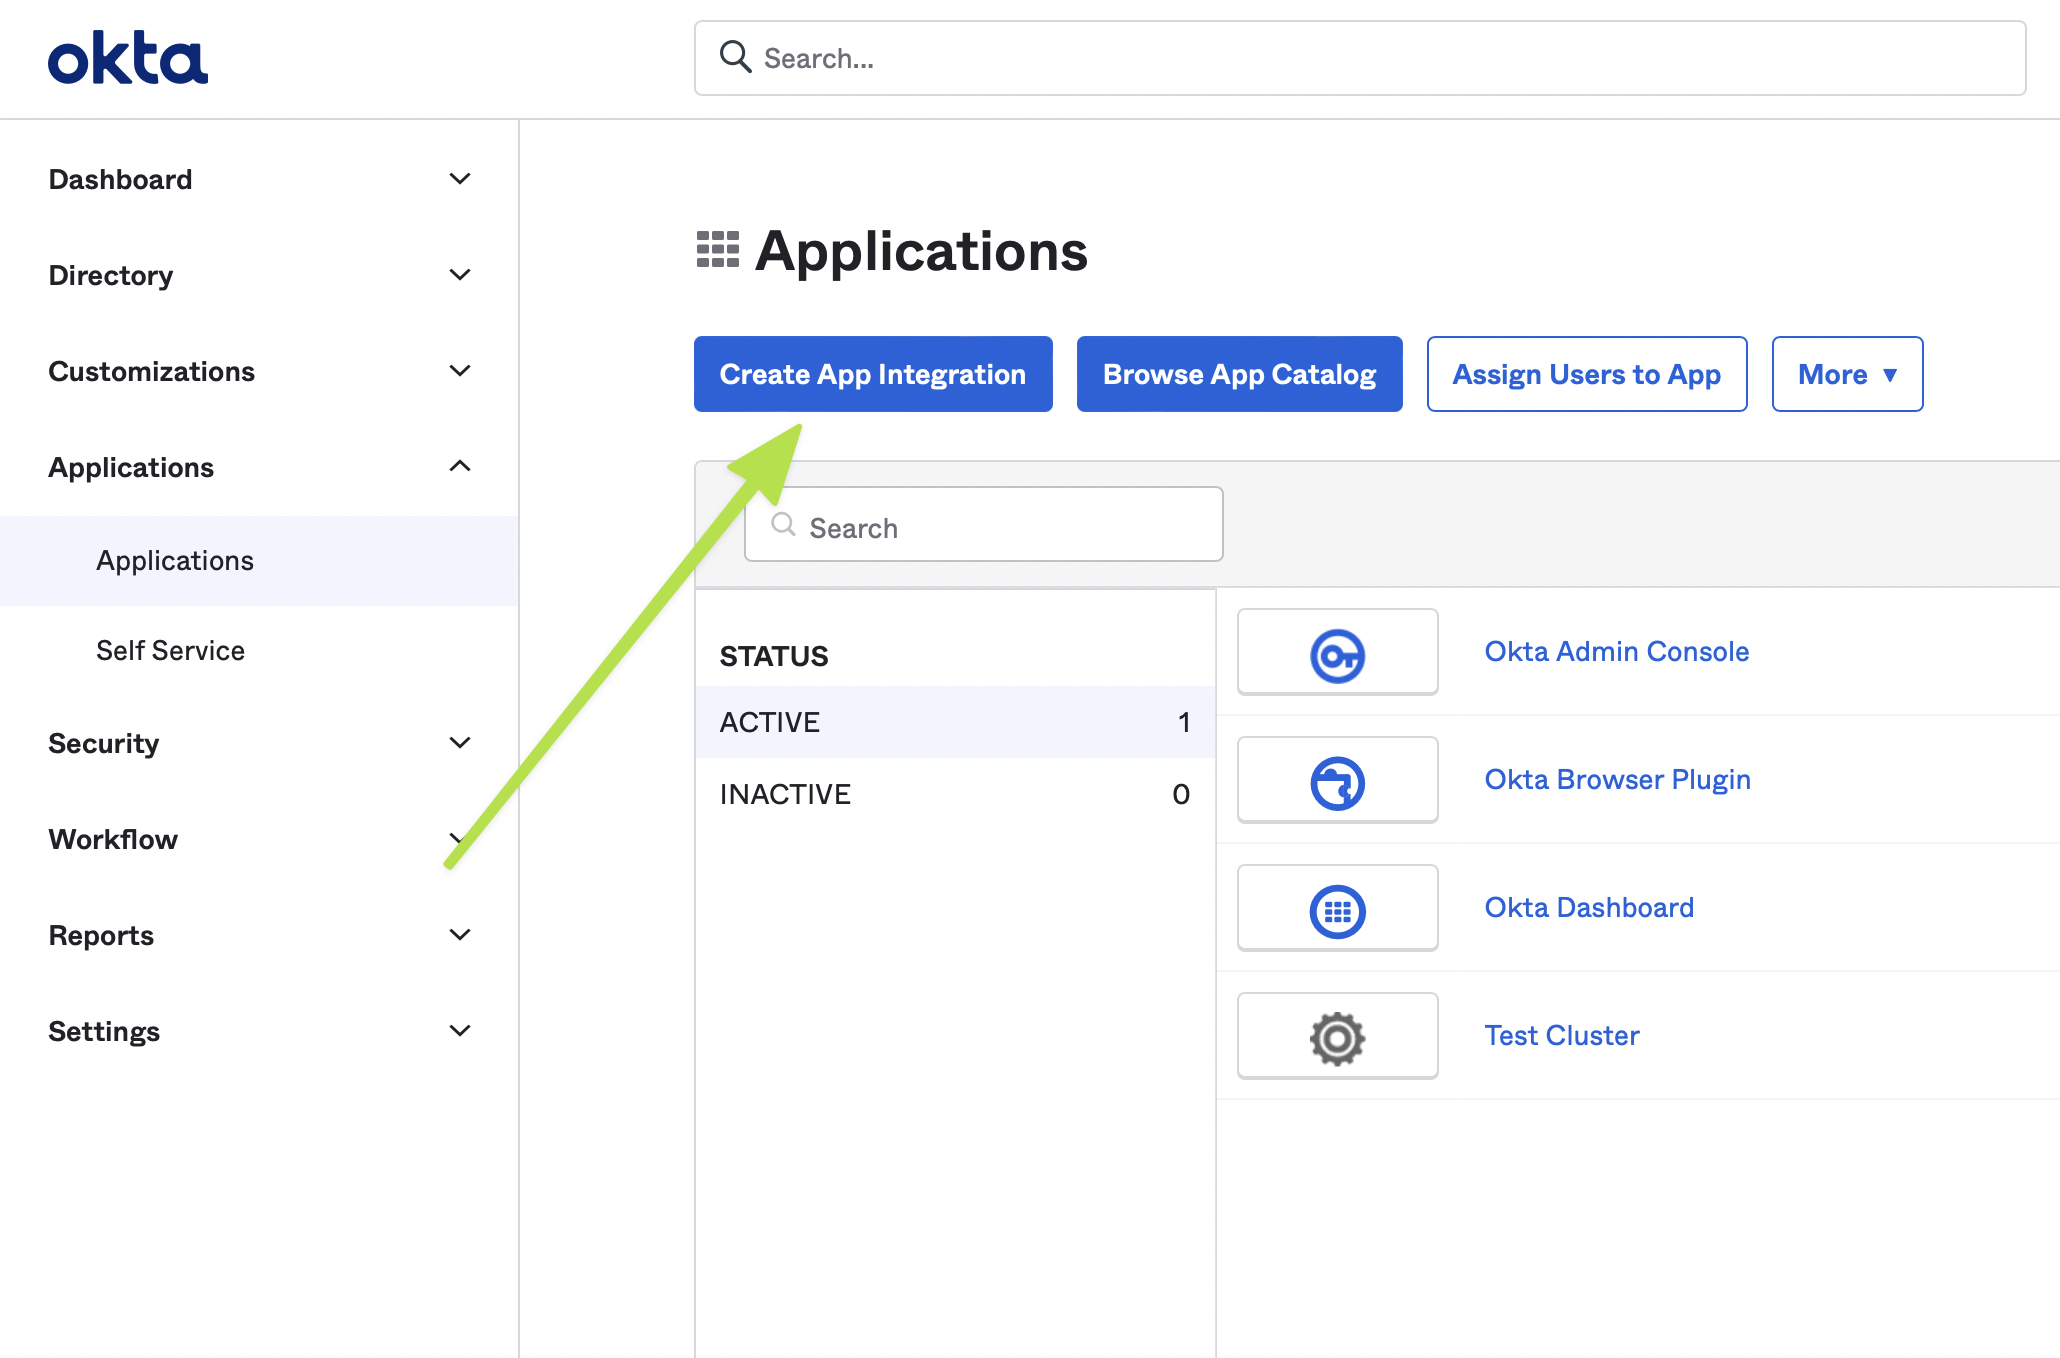
- Create an Integration
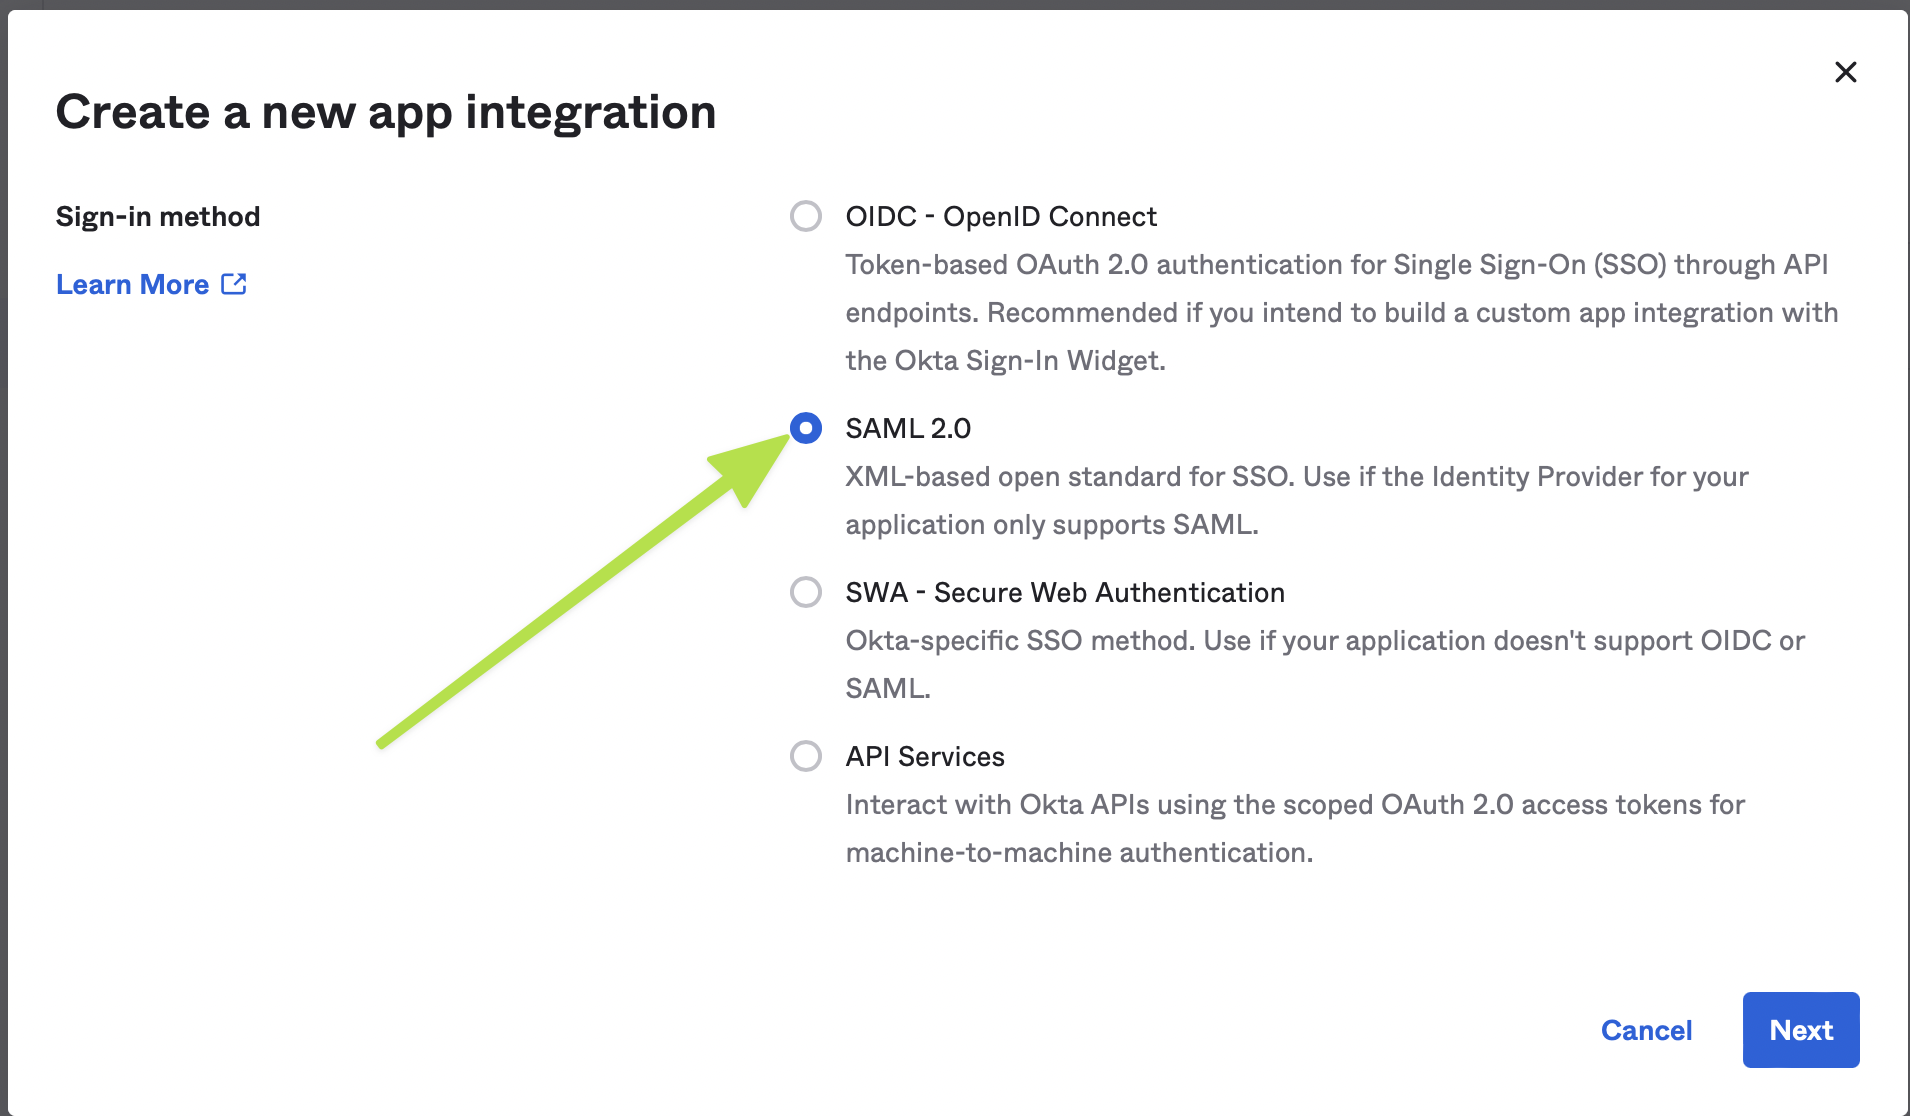
- Select SAML2
- Set the Application Name
- Update SAML settings
Please make sure you unchecked the option for
Use this for the Recipient URL and Destination URL
- View Setup Instructions
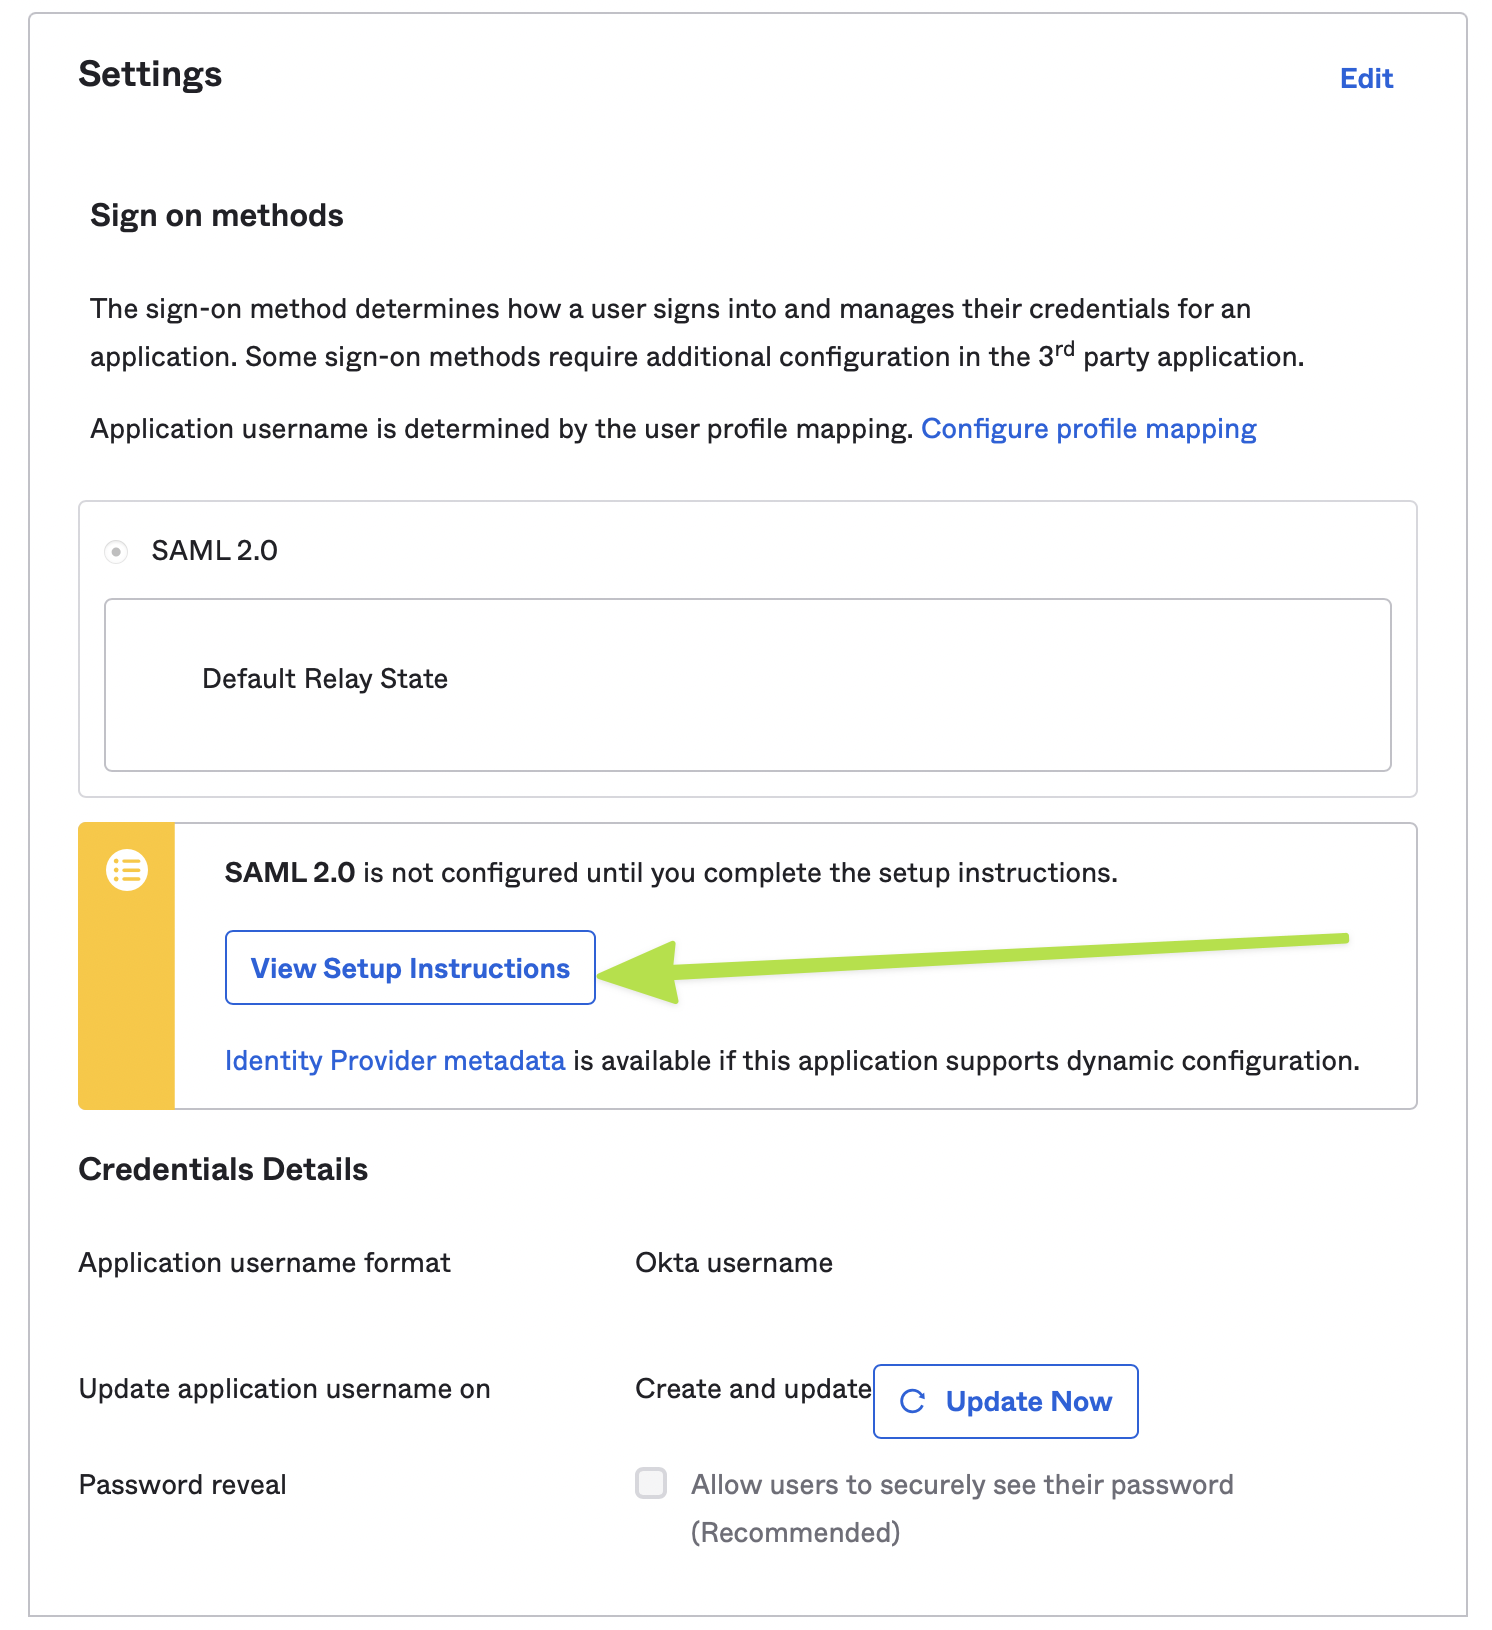
- Copy values to Enable SSO on GameBench Dashboard
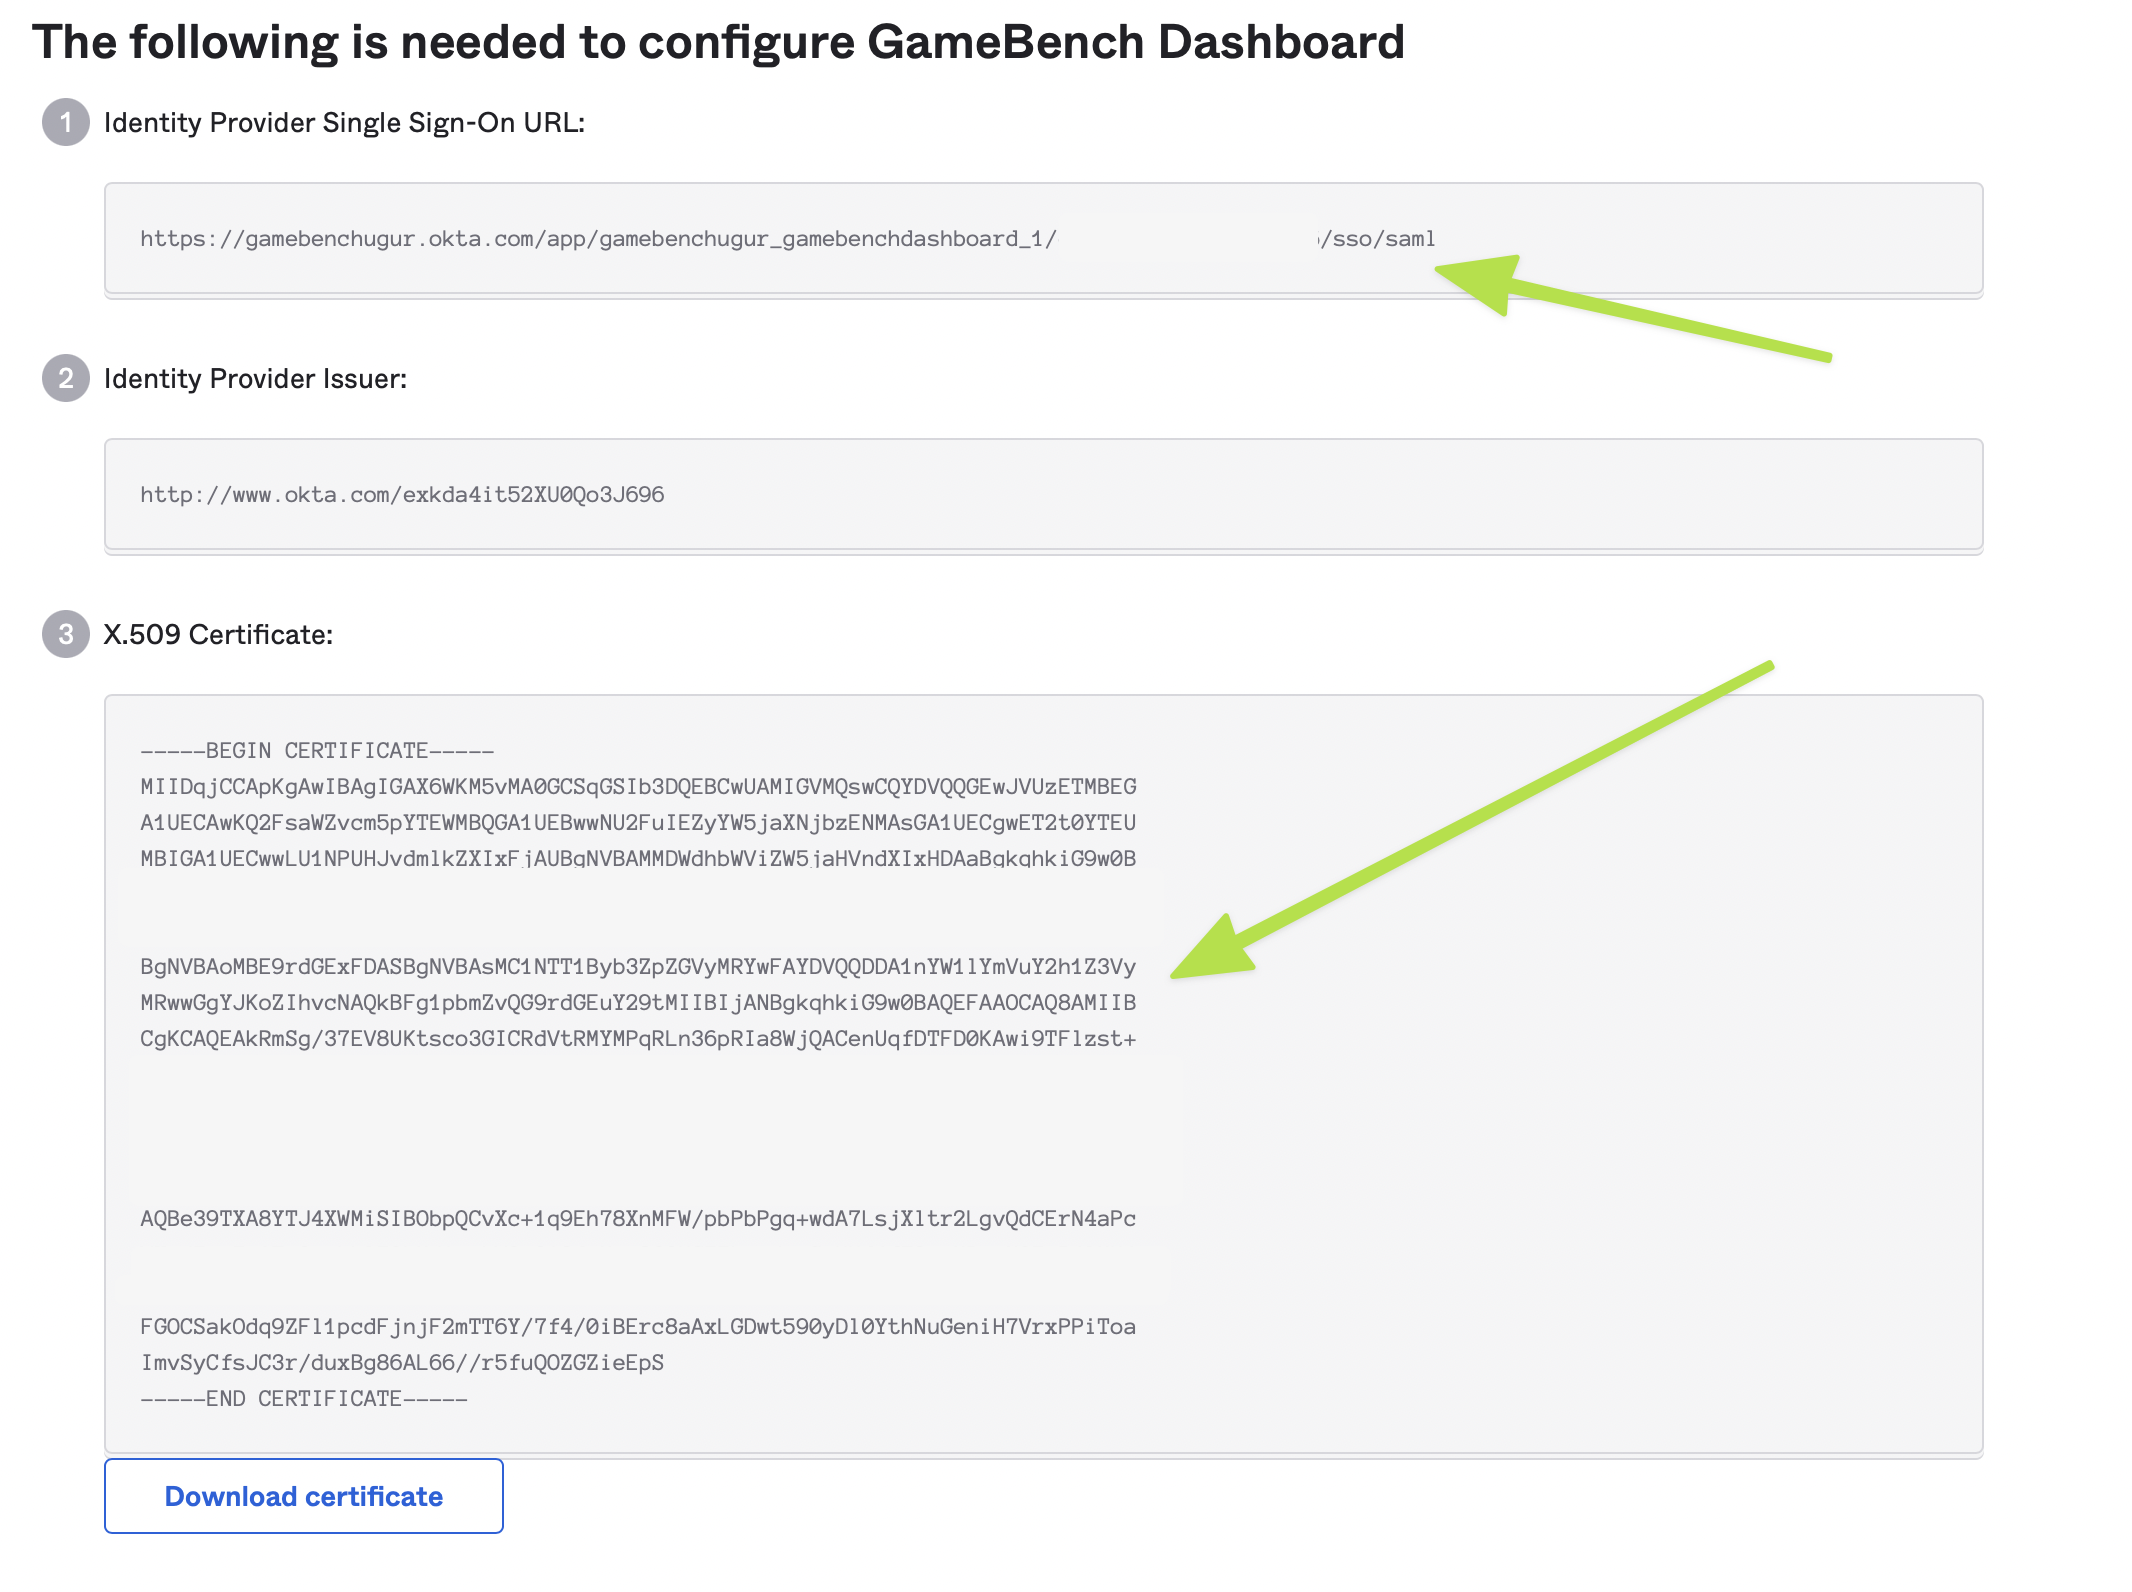
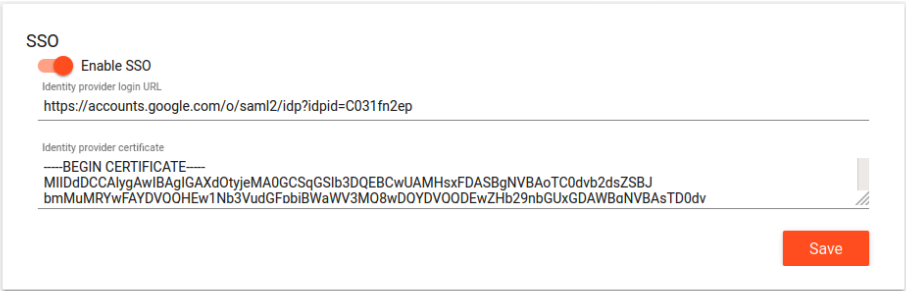
Enabling SSO
By default SSO is disabled even after SSO privileges have been assigned. To enable SSO follow the steps below;
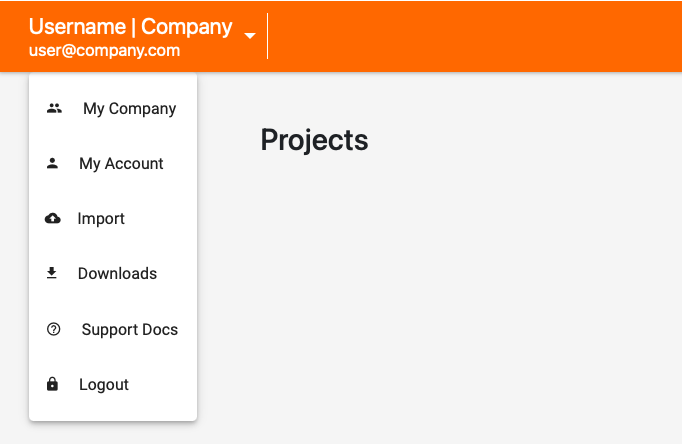
- Navigate to the ‘My Company’ page
- Navigate to the ‘SSO’ tab

- Enable SSO and provide values for the Identity Provider login URL and the Identity Provider certificate
Last updated on