User Interface Overview
First Launch
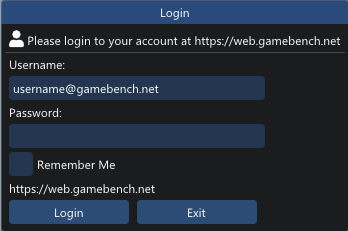
On the first launch of the GameBench StudioPro Windows Tool it will display a popup like the one below asking for your GameBench web dashboard login details. Enter your user details and click ‘Remember Me’ to ensure the application does not ask for login details every time, then click ‘Login’
Session configuration and results
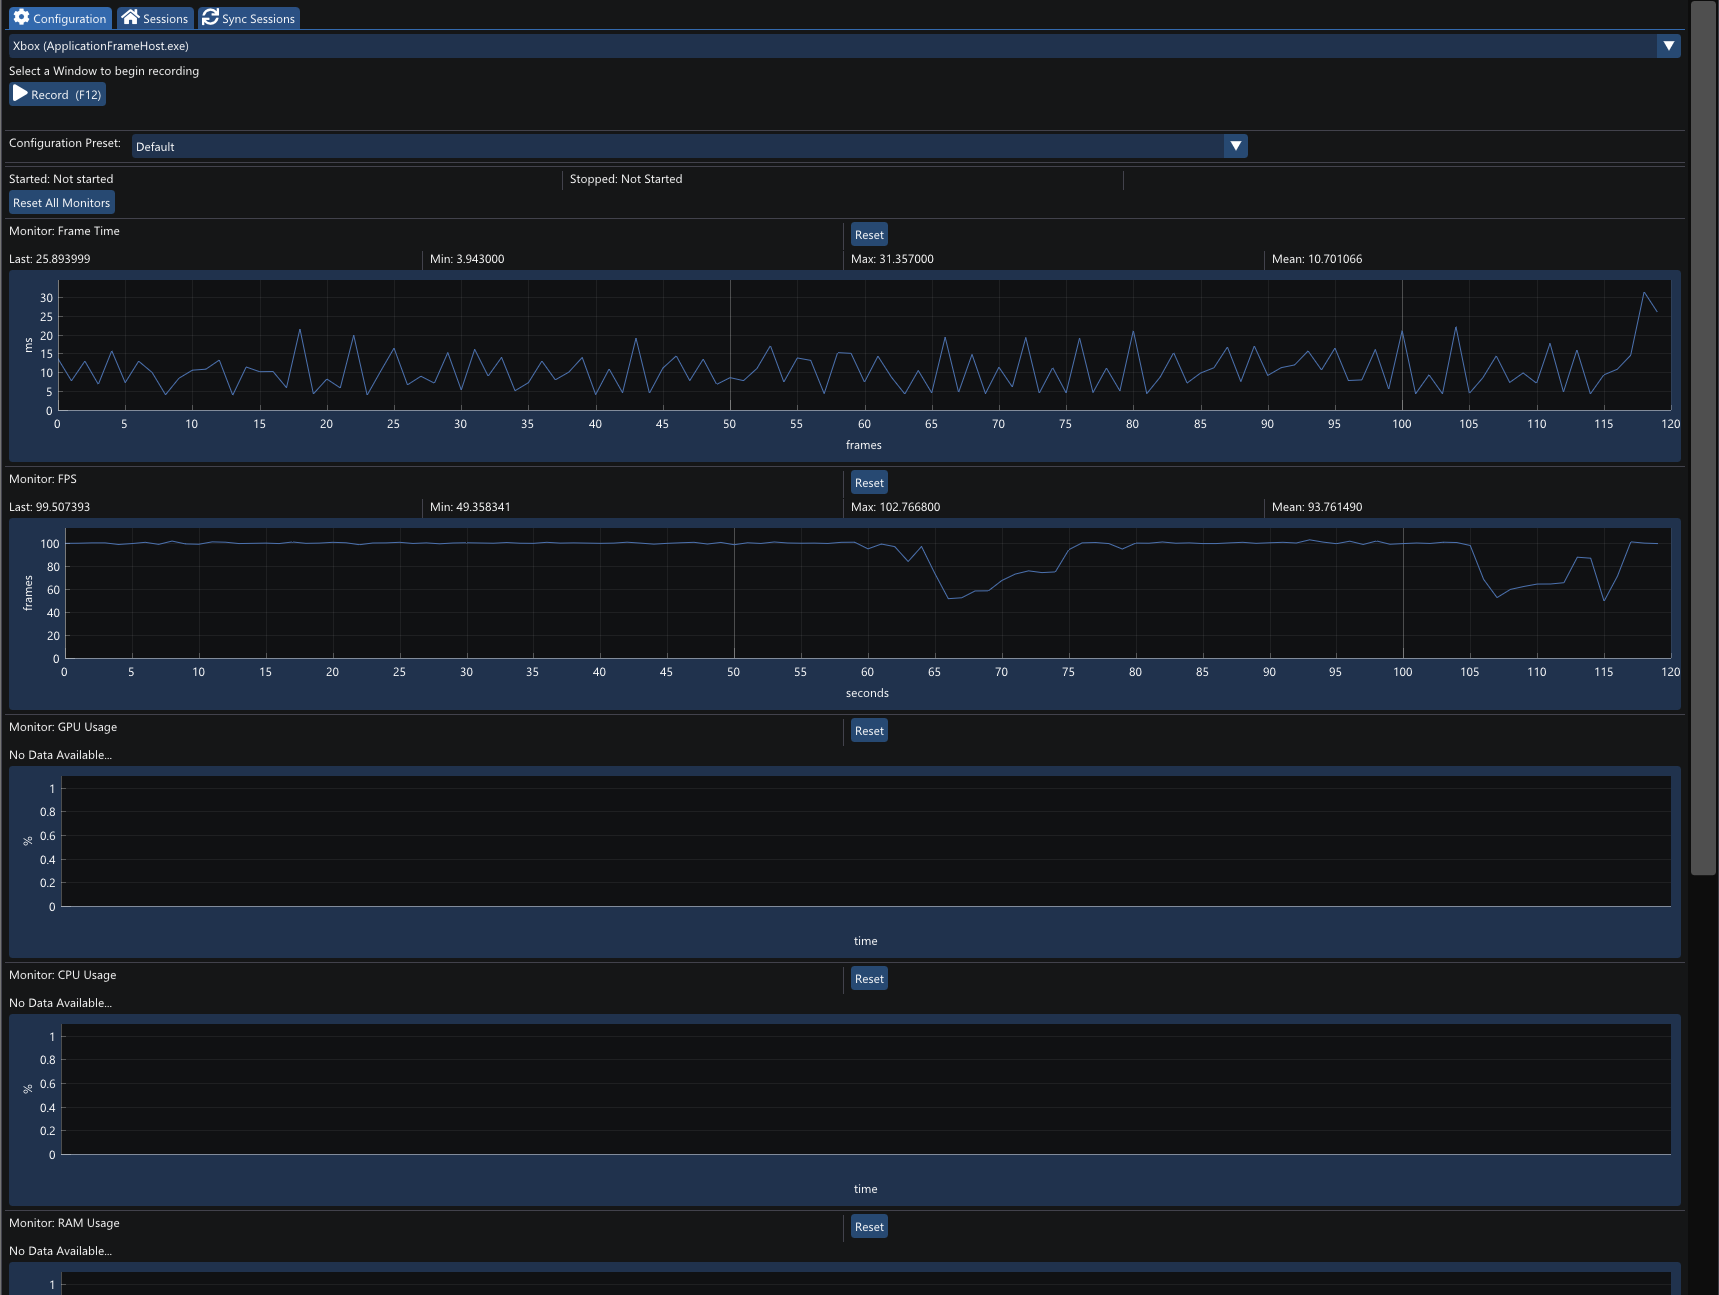
The configuration window controls the recording of a session and also gives the live view of the results
The top part of the session window allows a user to setup a session to record. The first step is to use the ‘Select Window’ dropdown to select the window you are measuring statistics for; this must be done before ‘Record’ can be pressed.
When a window is selected, ‘Record’ can be pressed. When a session is being recorded, frame time, fps, cpu/gpu usage and network metrics are recorded. When a user wants to stop recording they just need to press ‘Stop’, the results will be automatically uploaded to the web dashboard for further analysis.
If the results do not automatically upload, a user can select the ‘Sync Sessions’ tab where a ‘Sync’** can be manually triggered.
Session Summary Window
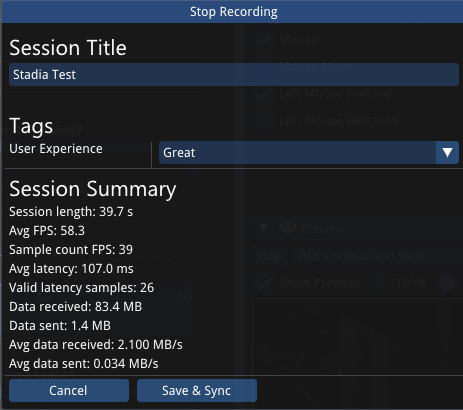
The session summary is displayed when the user stops a recording. This window has the following features
- Editable session title
- Selectable tag data
- Summary of the key session results
The session at this point can be discarded or saved using the buttons on the window. If the start/stop record shortcut button (F12) is pressed the session will be automatically saved, the session summary window will close and a new recording will begin.
Tag data
A session can be tagged with multiple values to help identify later or to add custom meta data. Tags can be easily added or removed by editing the ‘config’ file found in the resource folder.