iOS 17+ Wireless Device Setup Guide
Wireless support for iOS Devices is only supported on a Mac. You need to follow the steps below:
- Ensure you device is set up in “Network mode”
- Run a dummy iOS Project from Xcode once the device is setup. Please leave this project running till you complete the Wireless profiling from the GameBench App.
Configure devices for network mode
1. Open Xcode App.
2. Click “Window”
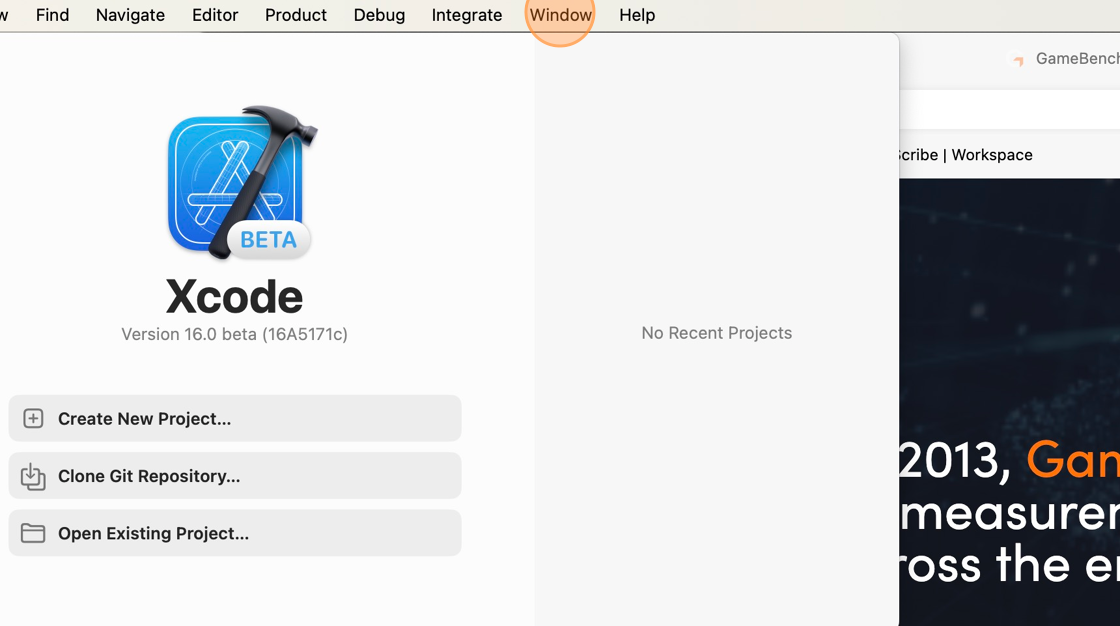
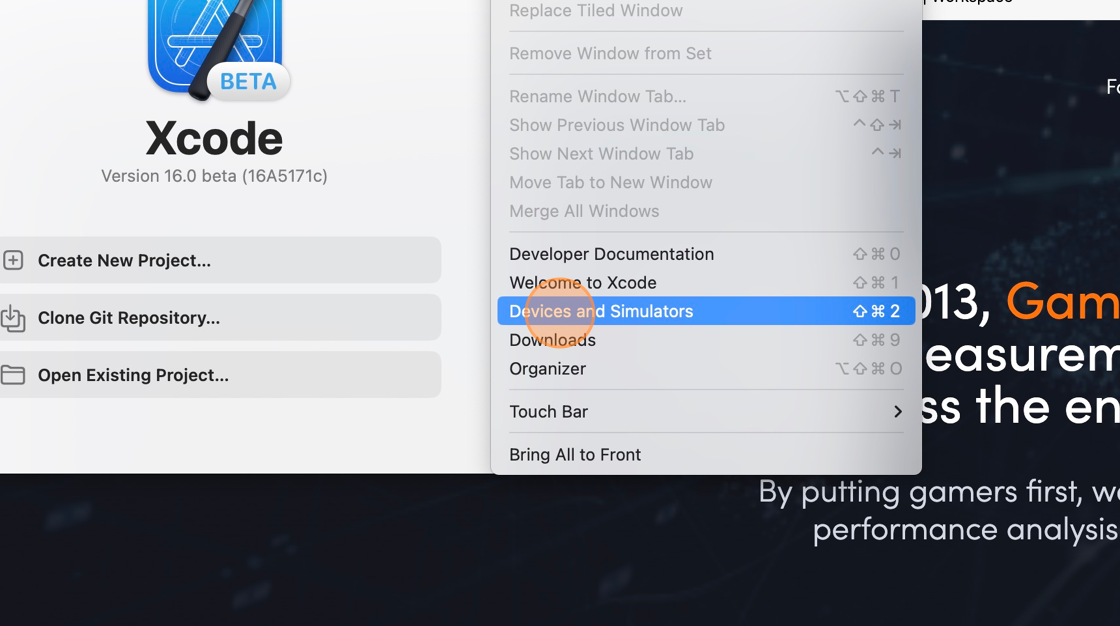
3. Click “Devices and Simulators”
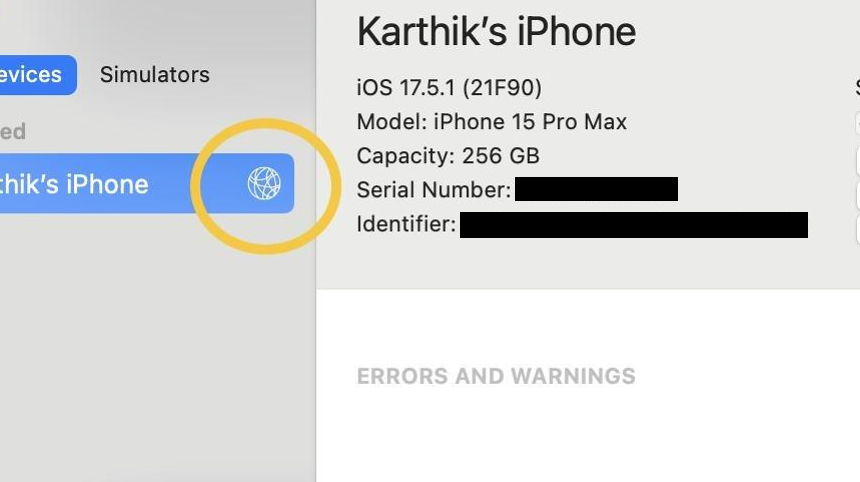
4. You should see your USB-Connected iPhone on the left side. Allow it to set up and show detailed information on the right, like the Installed Apps

5. Disconnect the iPhone, and the device will be set up for “Network” or “Wireless” use. Once done, you should still see your device with a Globe icon next after it has been disconnected. At this point, you are ready to use Wireless profiling in the GameBench Desktop App.
6. When you disconnect the device, the GameBench Desktop App will still show it if you have followed the above steps correctly. If the GameBench Desktop App removes the device, please repeat steps 1 - 5 here and go back to profiling your device wirelessly.
Running simple iOS App using Xcode
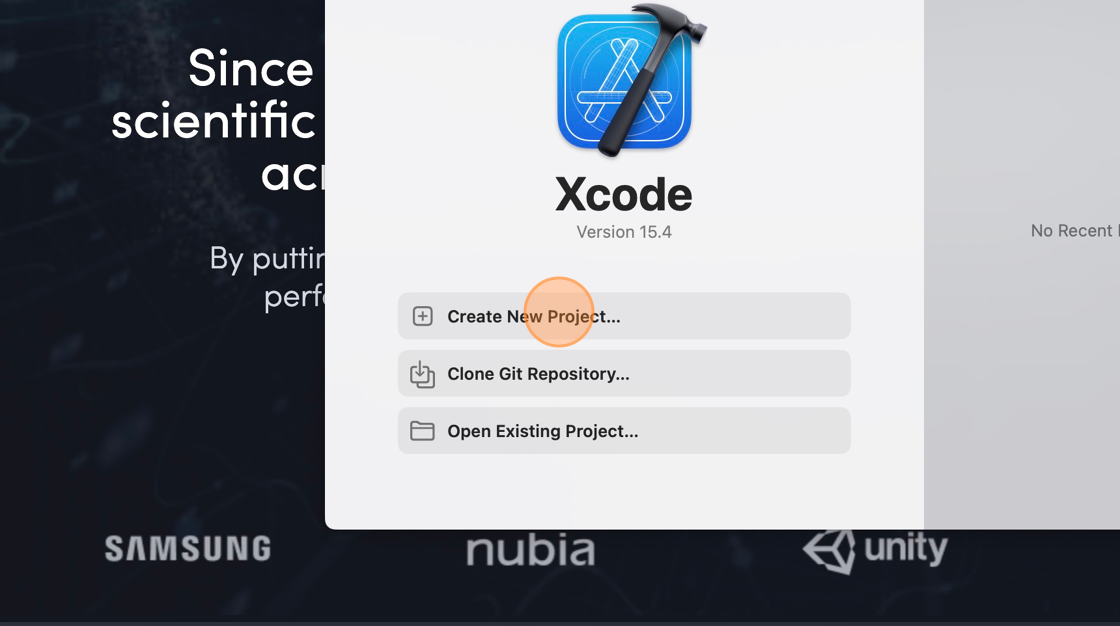
1. Open Xcode App
2. Click the Create New Project button
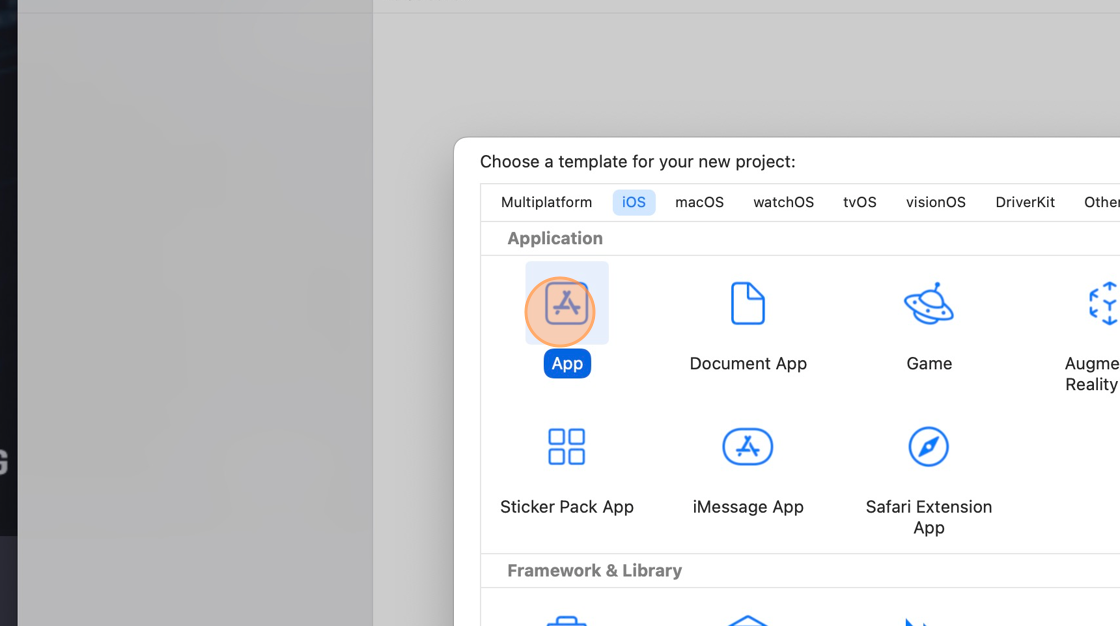
3. Click “iOS”
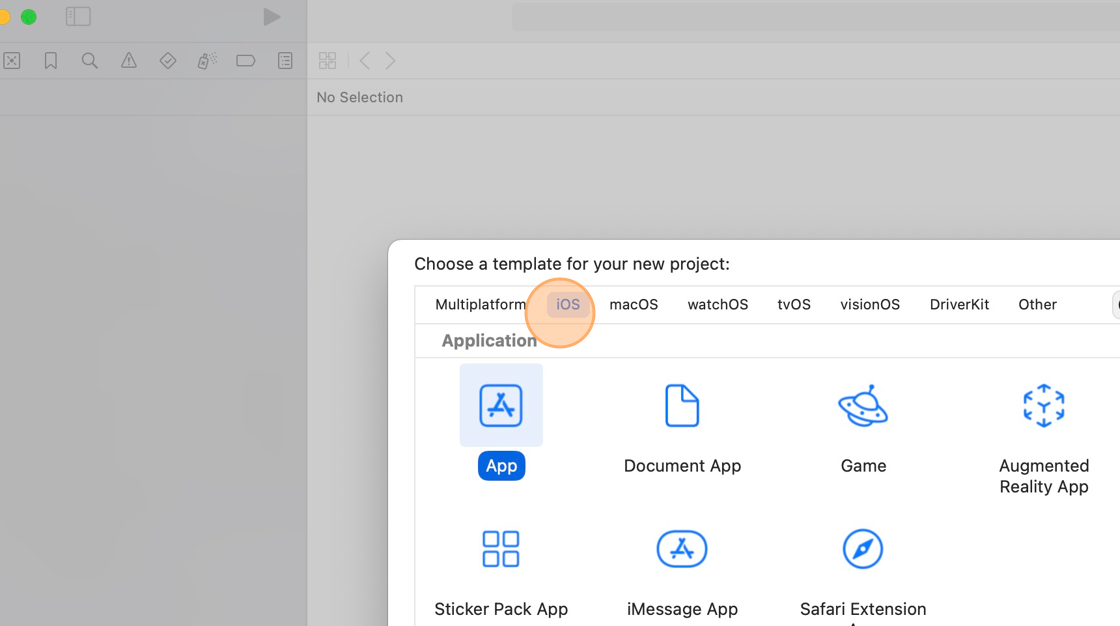
4. Select “App”
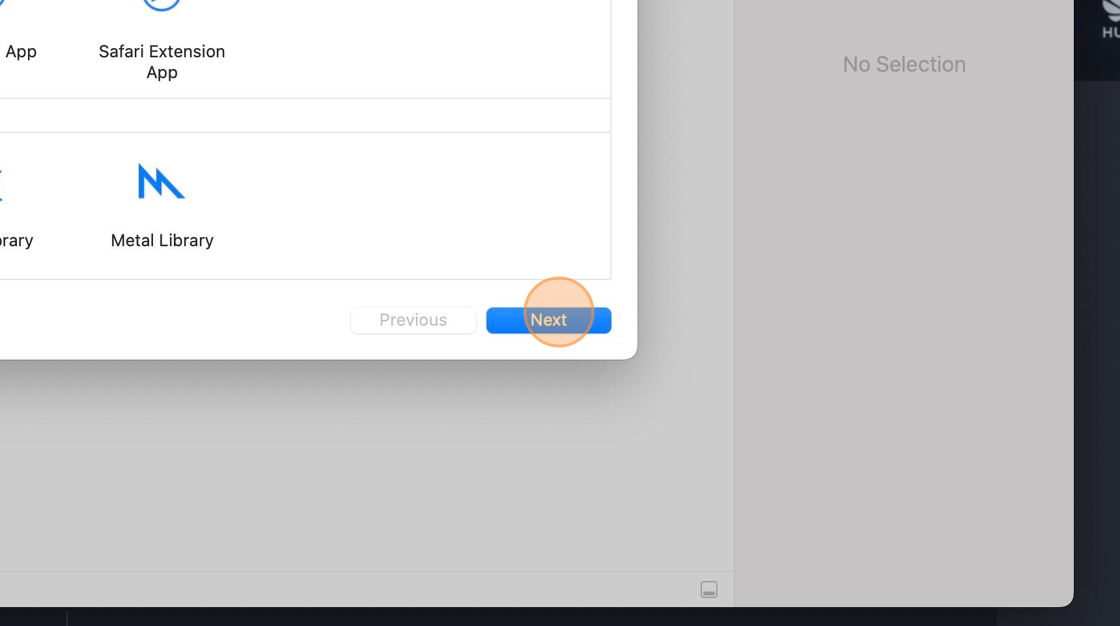
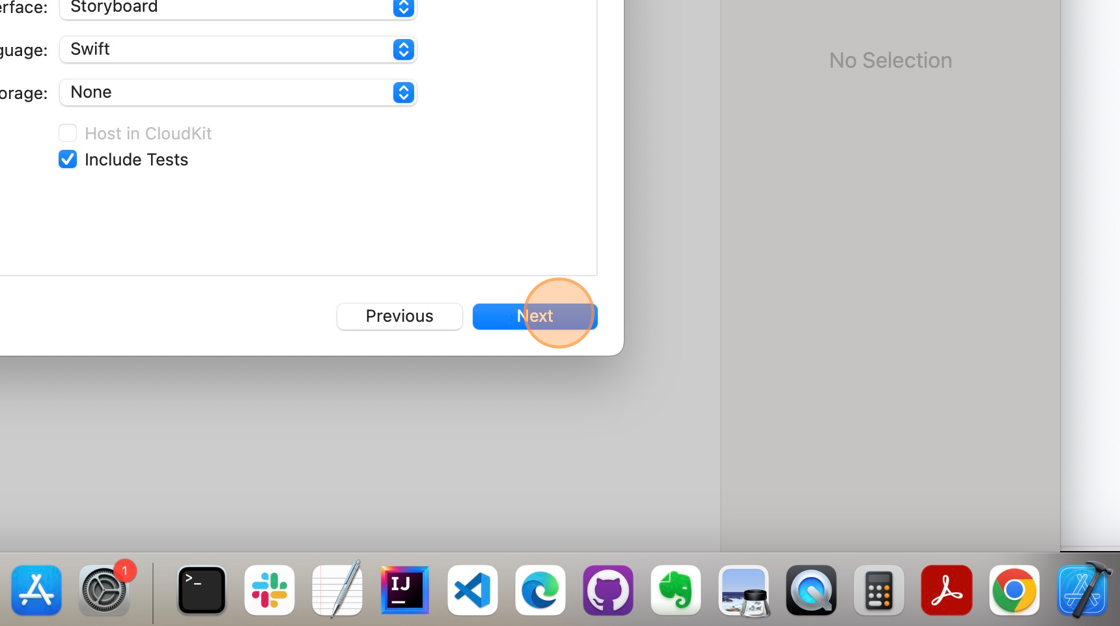
5. Click “Next”
6. In the “Product Name:” field, enter “test” or another dummy name.
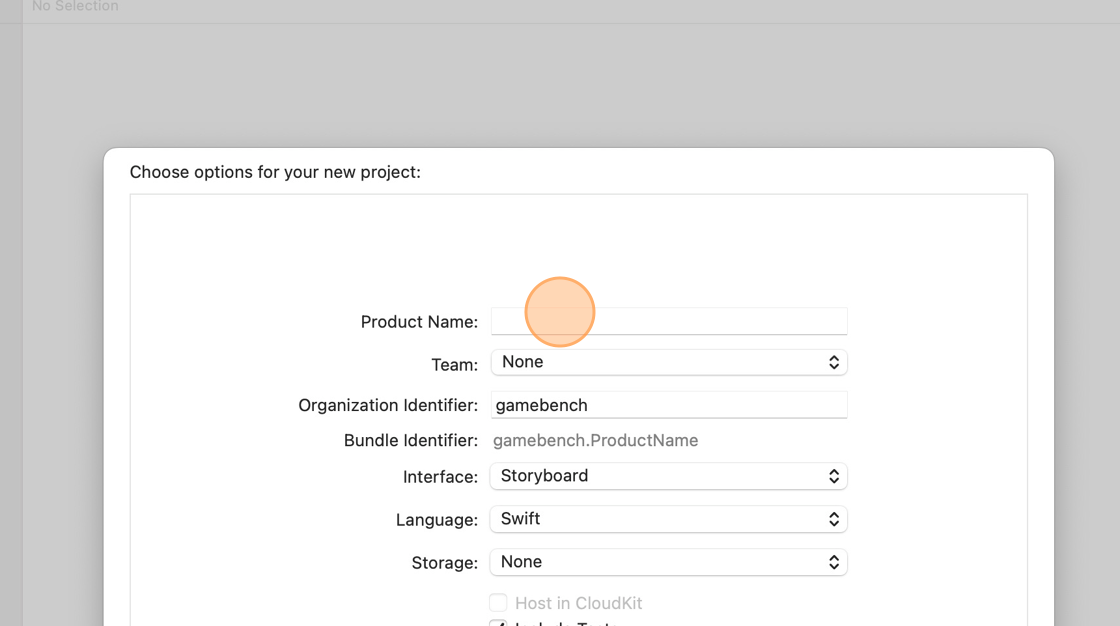
7. Click the “Next” button
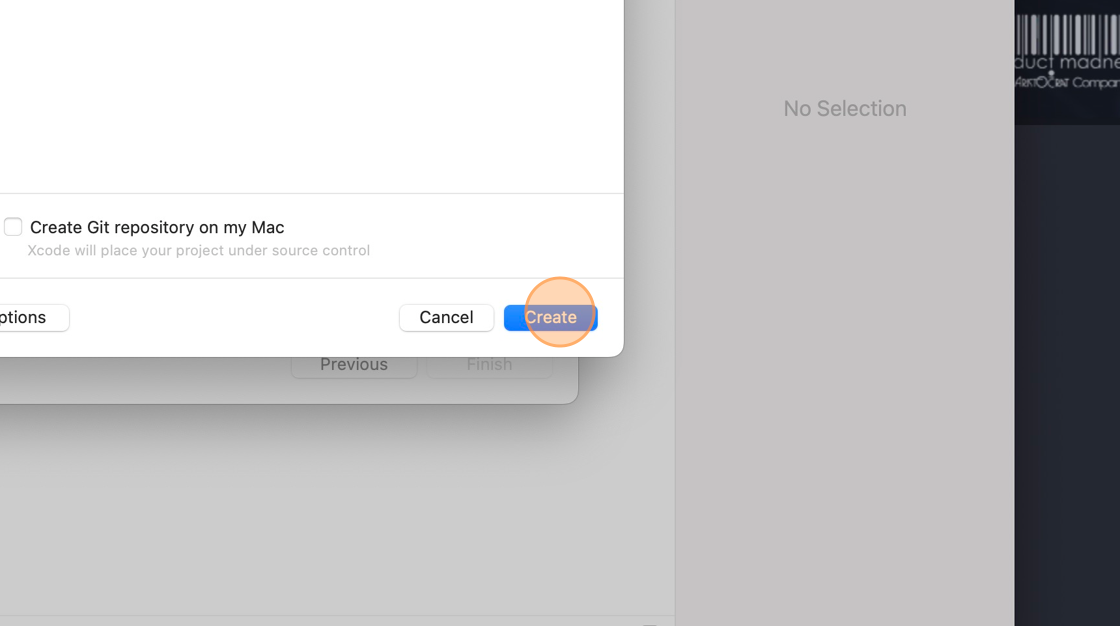
8. Click “Create”
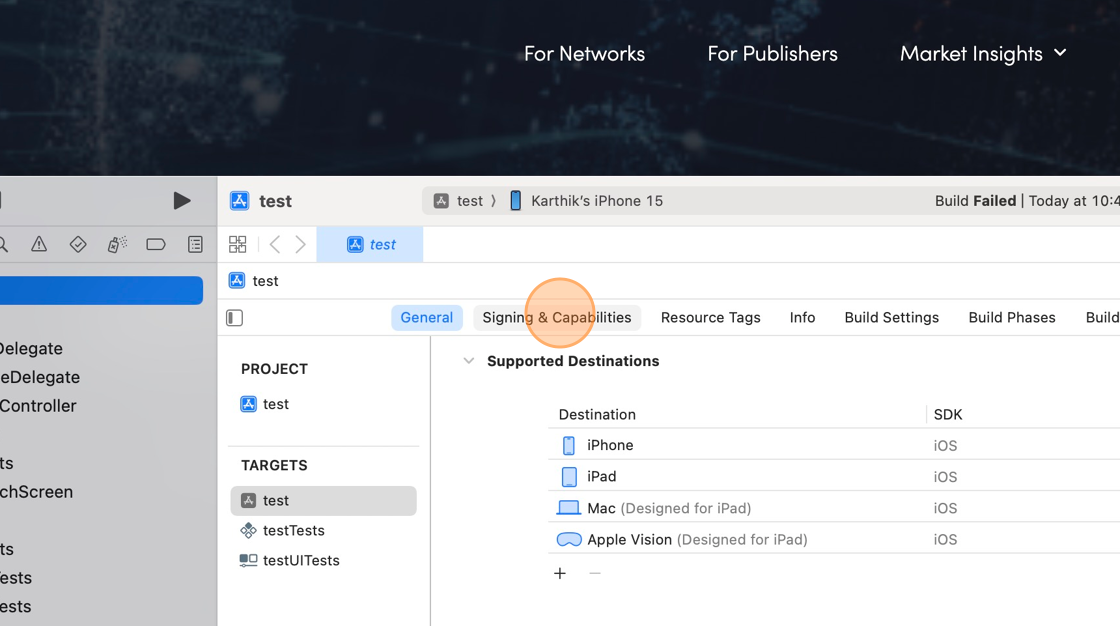
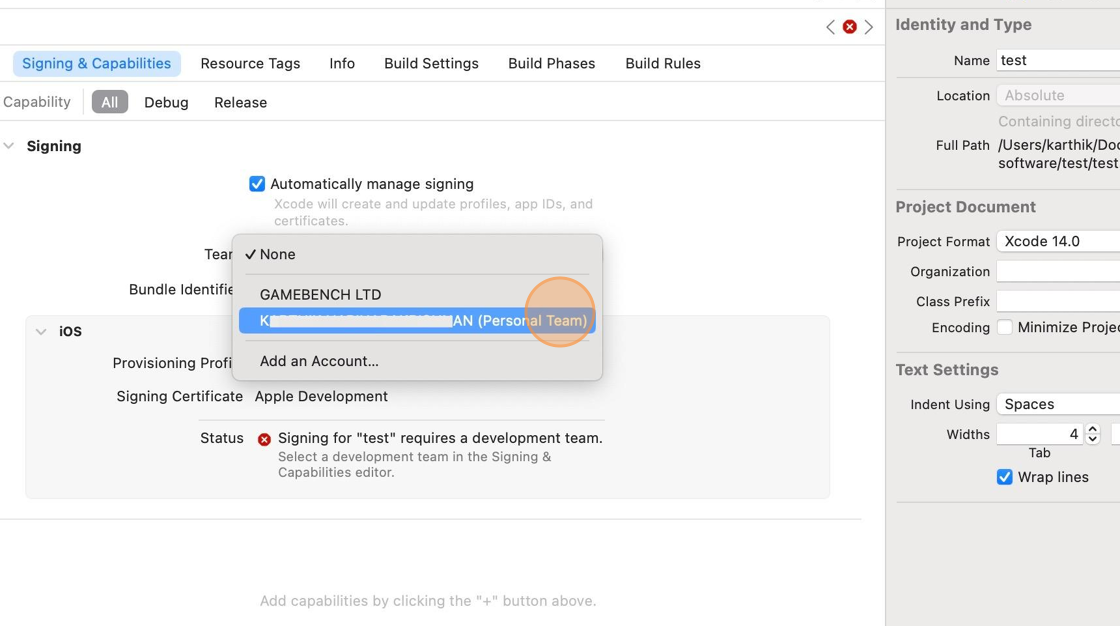
9. Click “Signing & Capabilities”
10. Select the “Team” drop down. Leave other options default
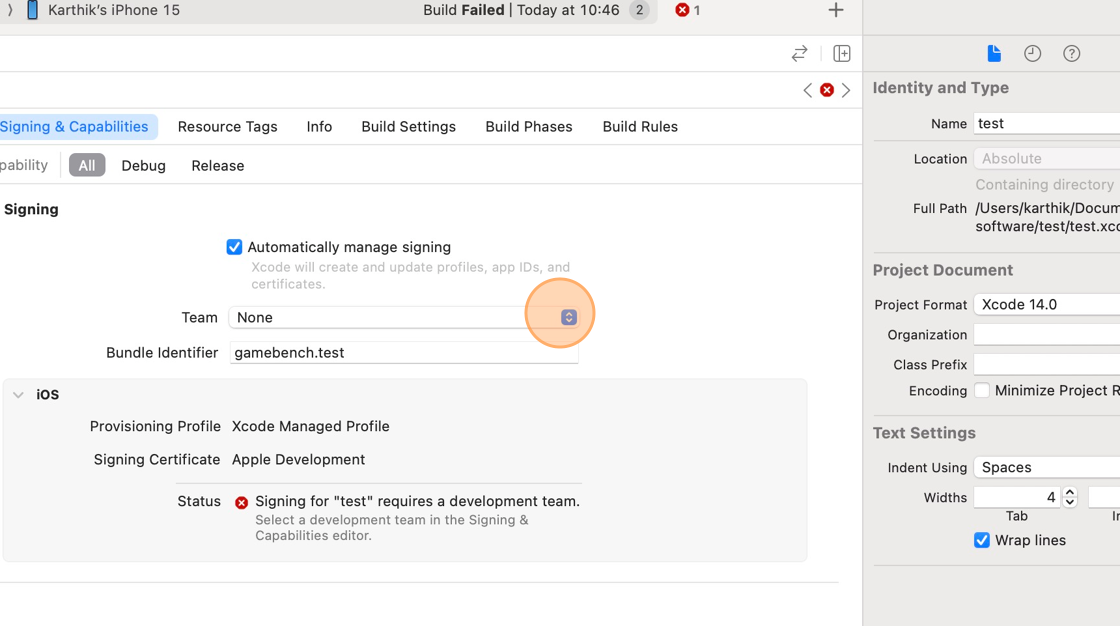
11. Select your personal team “XXXXX (Personal Team)”
12. Ensure that you set up the device so you can deploy apps. Goto Settings->General->VPN&Device Management and Trust your Email address so you can deploy apps.
To enable app deployment on your iOS device:
- Open the “Settings” app on your device
- Scroll down and tap on “General”
- Look for and select “VPN & Device Management” (on some older iOS versions, this might be called “Profiles & Device Management”)
- Under the “Developer App” section, you should see your Apple ID email address
- Tap on your email address
- Select “Trust [Your Email Address]”
- Confirm by tapping “Trust” again when prompted
By completing these steps, you’re authorizing your device to run apps that you’ve developed and signed with your Apple Developer account. This process is necessary for testing and deploying your own apps on your iOS device.
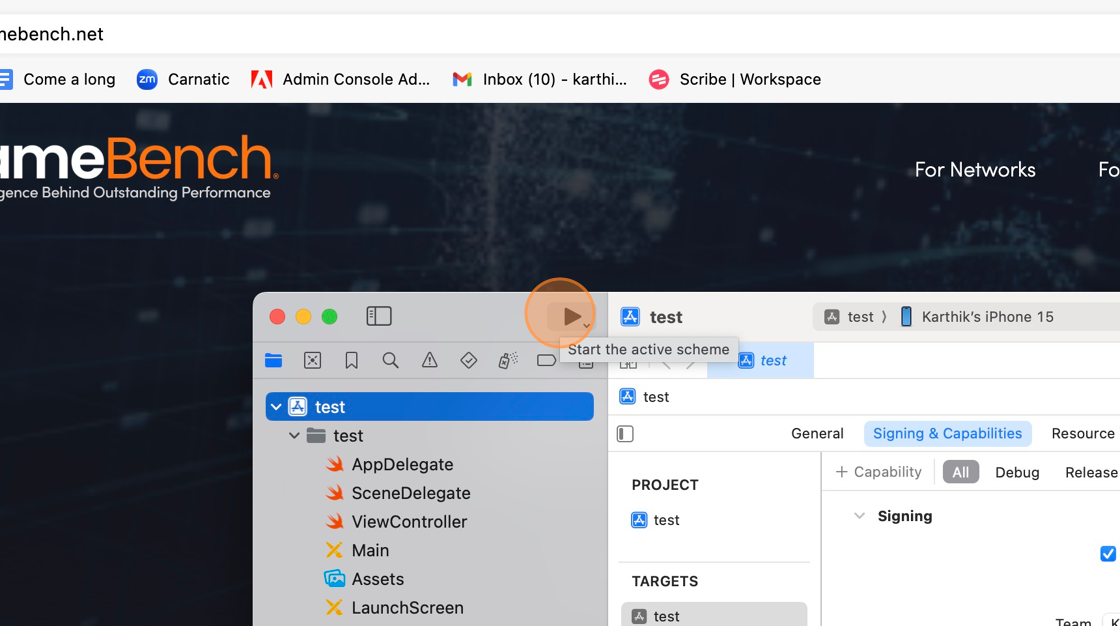
13. Click “Run”.
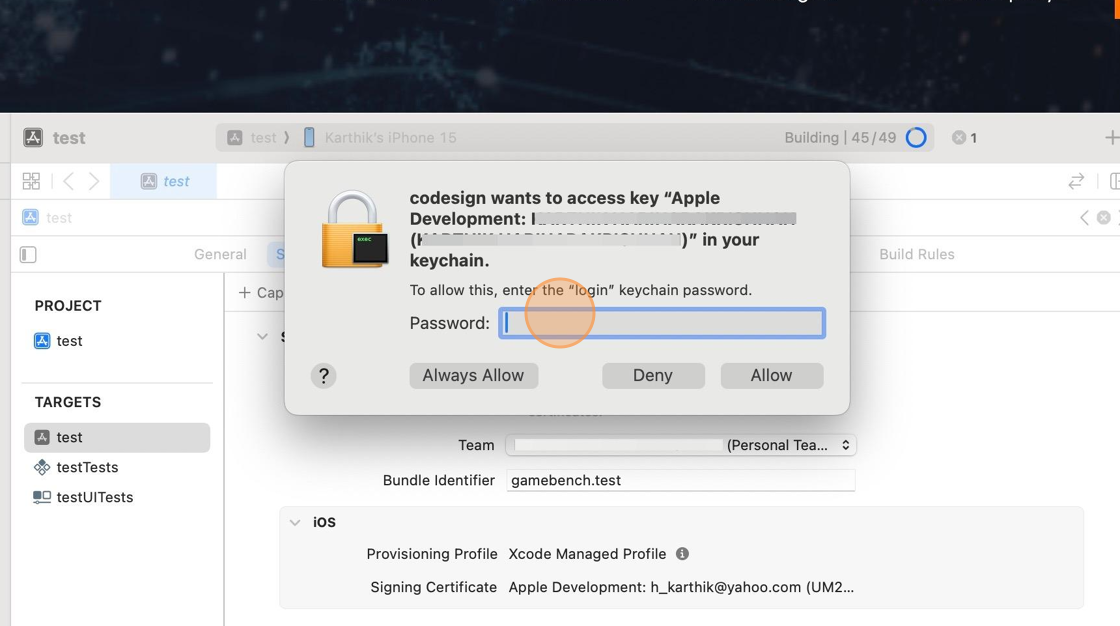
14. Enter the Mac password and click “Always Allow” for code signing dialog
15. Check that the App launches on the device.
Tip: Keep Xcode Window Open when profiling Wirelessly using the GameBench Pro App