Getting Started
Getting Started with GameBench
To enable monitoring on your Android device, a background service needs to be running, the easiest way to ensure this is through the GameBench Studio Pro Desktop app, available for both Windows and macOS.
Recommended: Use the Studio Pro Desktop App
We recommend using the Studio Pro Desktop app to control the background service. This is the simplest and most reliable way:
- Open the Studio Pro Desktop app on your computer.
- Connect your Android device via USB.
- The service will automatically start through the desktop app.
Alternative Method: Use the Android Service Launcher
If the desktop app is unavailable, you can use the GameBench Android Service Launcher as an alternative.
For Android 11 and above:
For Android 10 and below:
Connect your device:
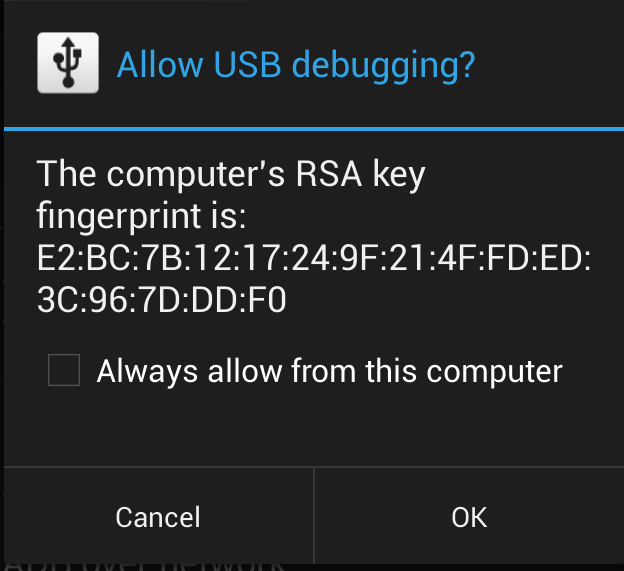
Note: You may receive a pop-up on your device asking you to allow USB Debugging

Please check the “Always allow from this computer” box and click OK)
Run the GameBench Android Service Launcher
Right-click the Launcher and click “Run” or “Open” to start it.
Logging in
You must use the same GameBench account credentials to login to the Android app as the ones you used to log into the GameBench Web Dashboard and every other GameBench service.
Generating your first session
From the main app interface, you need to select and add the apps/games you want to test.
- Tap the “+” button in the bottom left of the home screen to open a list of all the apps on your phone, and choose one you’re interested in. It will then be added to your GameBench list.
- Next, tap the “Play” button to the right of this app’s title in order to launch it and start profiling. You’ll see a red “Stop” button and a ticking time counter to indicate that GameBench is recording.
(Note: you can drag this counter to a new location if it gets in the way of any onscreen objects.) - Hit “Stop” when you’ve finished your session (we recommend at least two minutes of recording to be able to see more accurate data). Your data will automatically sync to the cloud. You can view your session by visiting your web dashboard