Collections
Collections organise your test sessions and provide tools for access control, alerting, and analysis. They replace the older “Projects” feature.
What are Collections?
A collection is a group of sessions that share common access rules and alert configurations. Every company has a Default collection that receives all sessions not matched by other collections.
The collection selector in the top navigation bar lets you switch between collections. The active collection determines which sessions, apps, and devices are shown across the dashboard.
Creating a Collection
To create a new collection, navigate to Collections (accessible from the collection selector dropdown or via /collections) and click Create Collection.
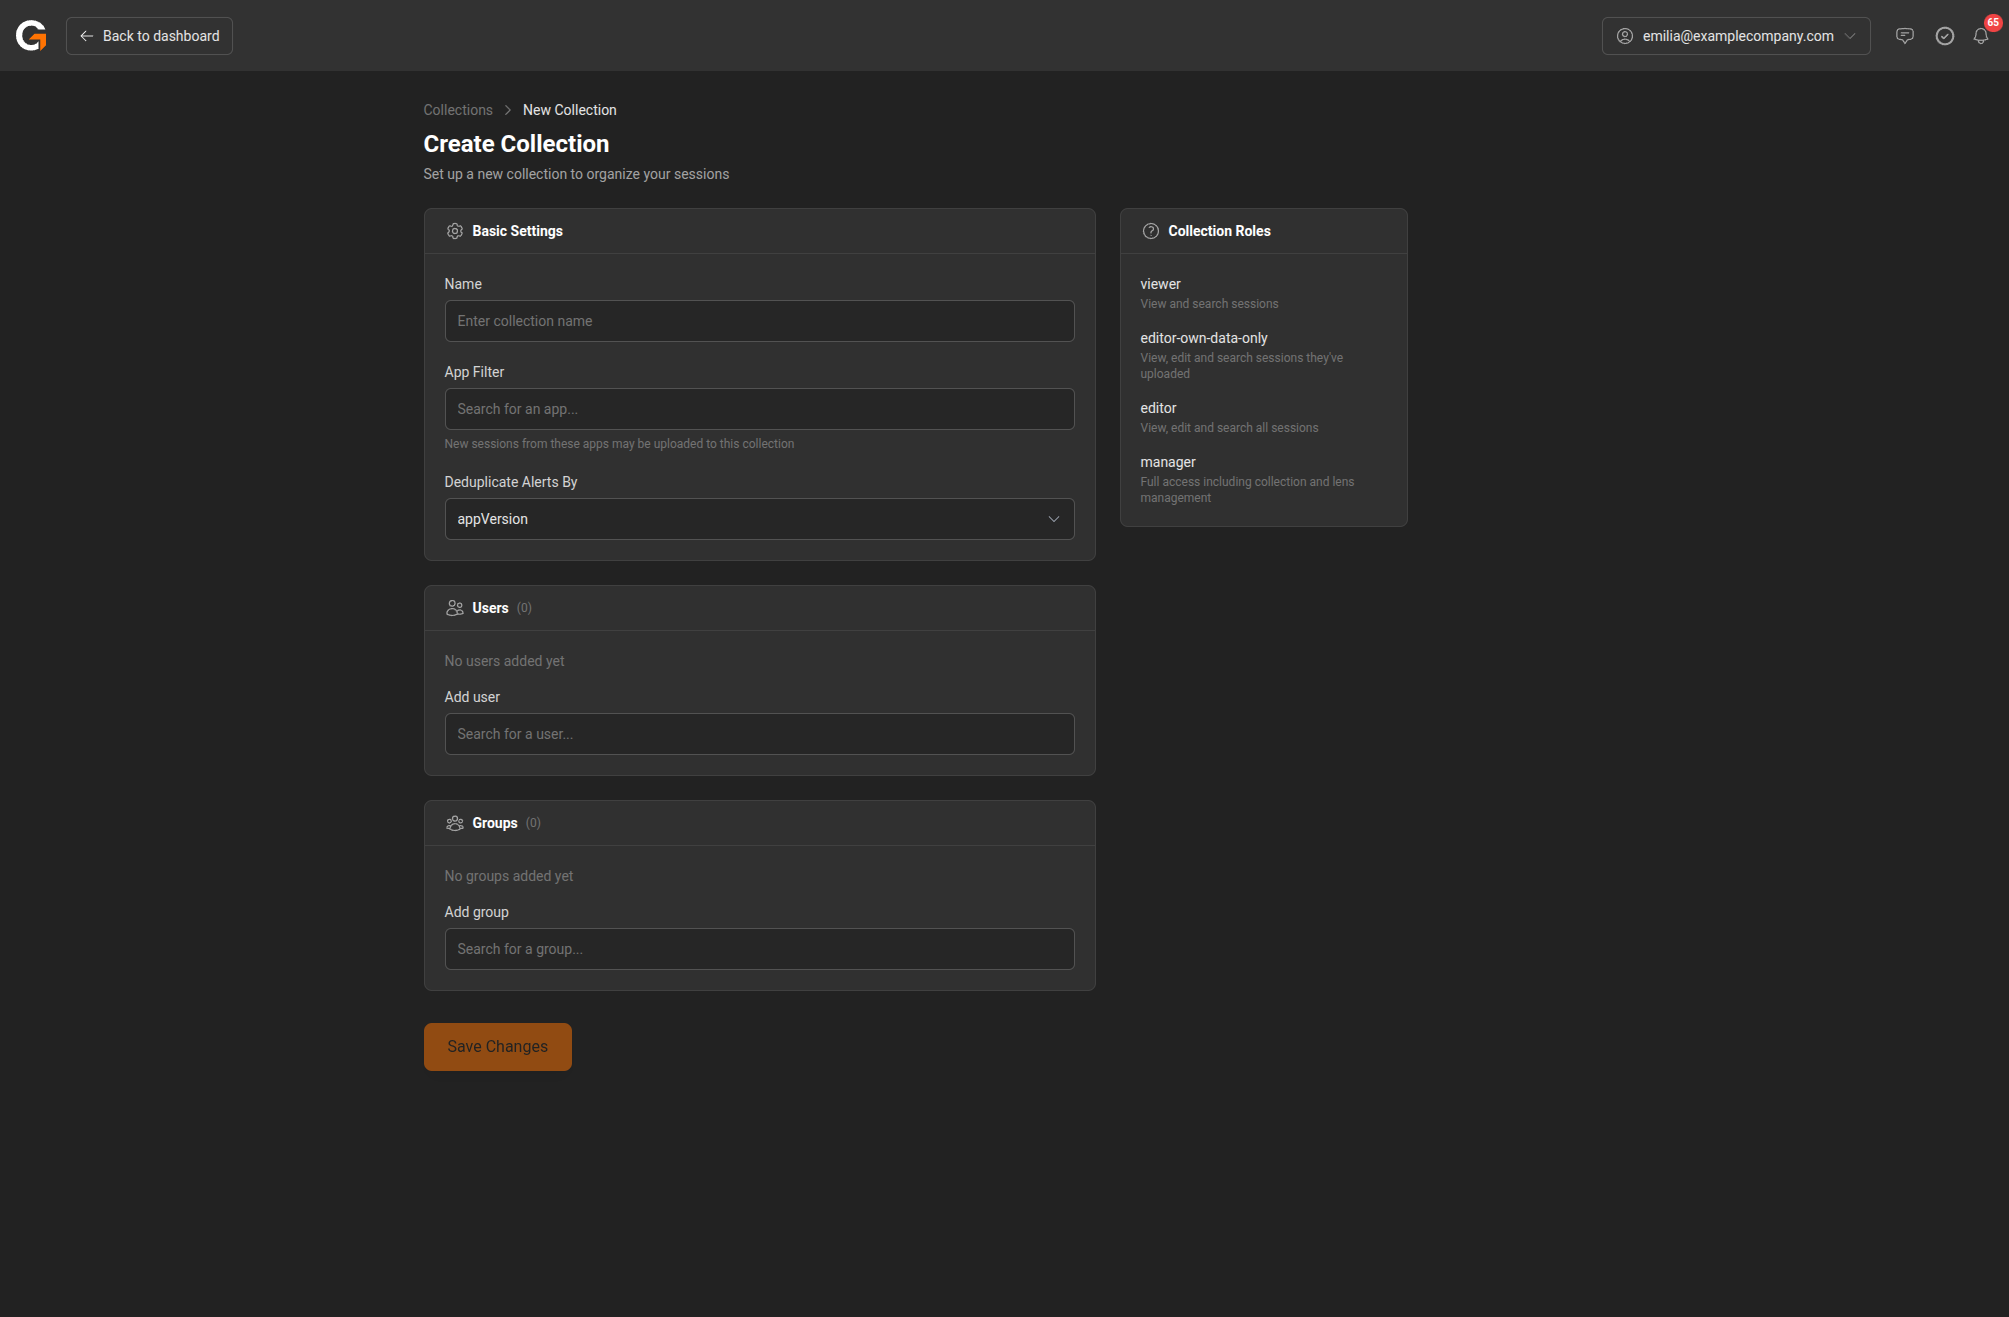
- Enter a Name for the collection.
- Set the App Filter — search for and select the apps whose sessions should be routed to this collection. New sessions from these apps will automatically be added.
- Choose a Deduplicate Alerts By strategy (App Version, Secondary App Version, Tag, or disabled).
- Add Users and Groups who should have access to this collection.
- Click Save Changes.
The Collection Roles panel on the right shows the available permission levels you can assign to users (viewer, editor-own-data-only, editor, manager).
Collection Summary
On the Dashboard Home, you’ll see a summary card for the active collection showing:
- Total Sessions
- Unique Apps
- Unique Devices
- Region Groups
Editing a Collection
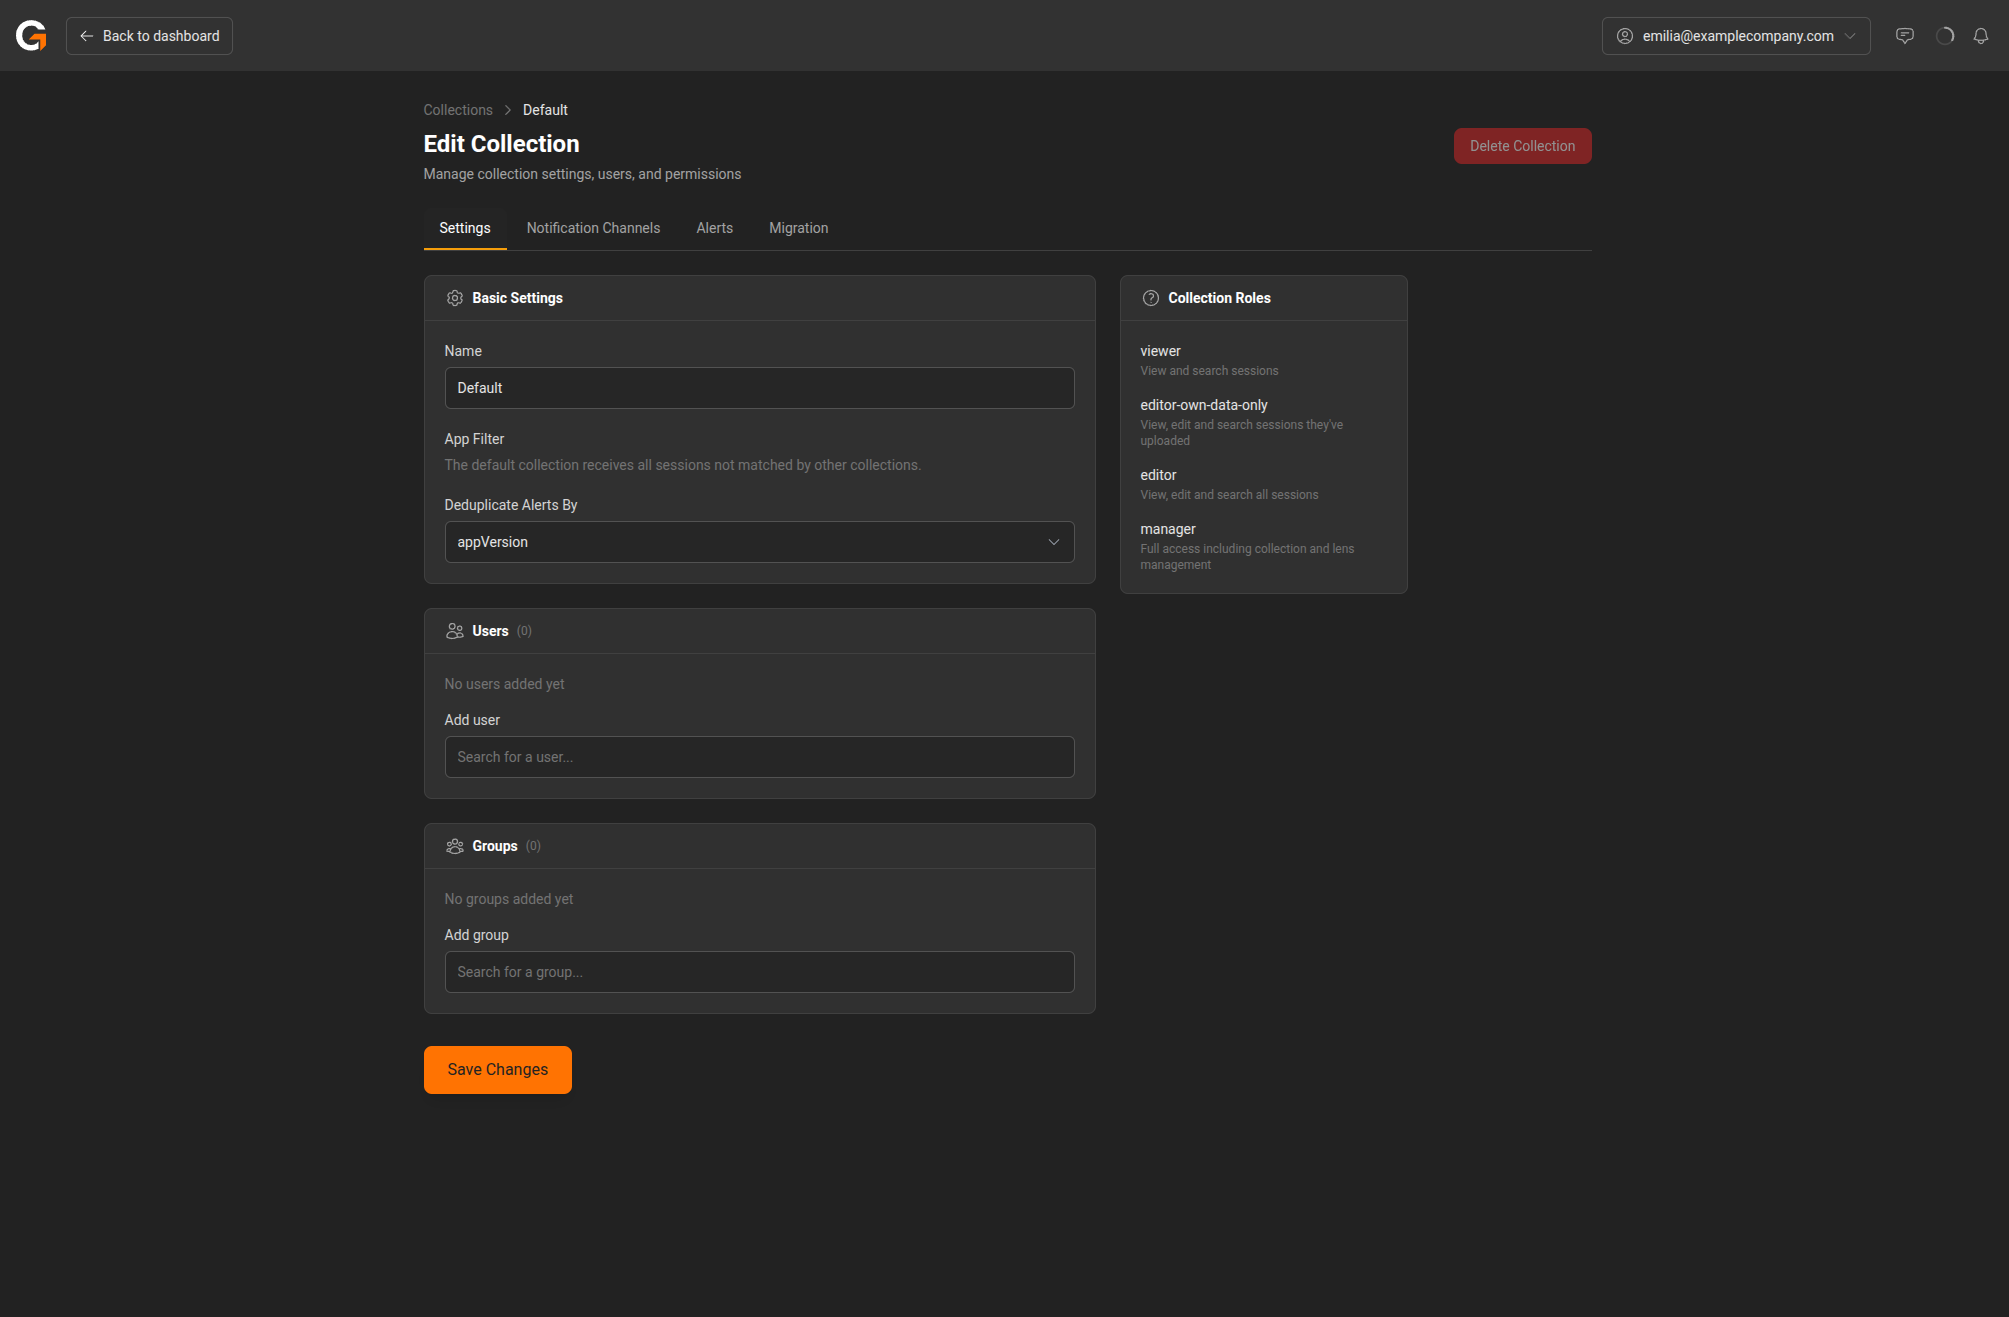
Click Edit on the collection summary card (or navigate to the collection edit page) to manage settings.
Settings
- Name – The collection name (the Default collection name cannot be changed).
- App Filter – Controls which apps’ sessions are routed to this collection. The Default collection receives all sessions not matched by other collections.
- Deduplicate Alerts By – Choose how to prevent duplicate alerts: by App Version, Secondary App Version, Tag, or disable deduplication.
Users and Groups
Add individual users or user groups to grant them access to the collection. Search for users or groups by name.
Collection Roles
Collections support four permission levels:
| Role | Permissions |
|---|---|
| viewer | View and search sessions |
| editor-own-data-only | View, edit, and search sessions they’ve uploaded |
| editor | View, edit, and search all sessions |
| manager | Full access including collection and lens management |
Notification Channels
Notification channels define where alert notifications are delivered. Navigate to Notification Channels from the collection edit page to manage them.

To create a notification channel:
- Click Create Channel.
- Enter a Name for the channel (e.g., “QA Team Slack” or “Build Alerts Email”).
- Select the Type:
- Email – Send notifications to one or more email addresses.
- Slack – Post notifications to a Slack channel via a webhook URL.
- Webhook – Send a JSON payload to a custom URL for integration with other tools.
- Click Save Changes.
You can create multiple channels and assign different ones to different alerts.
Alerts
Alerts notify you when session metrics cross a threshold. Navigate to Alerts from the collection edit page.
To create an alert:
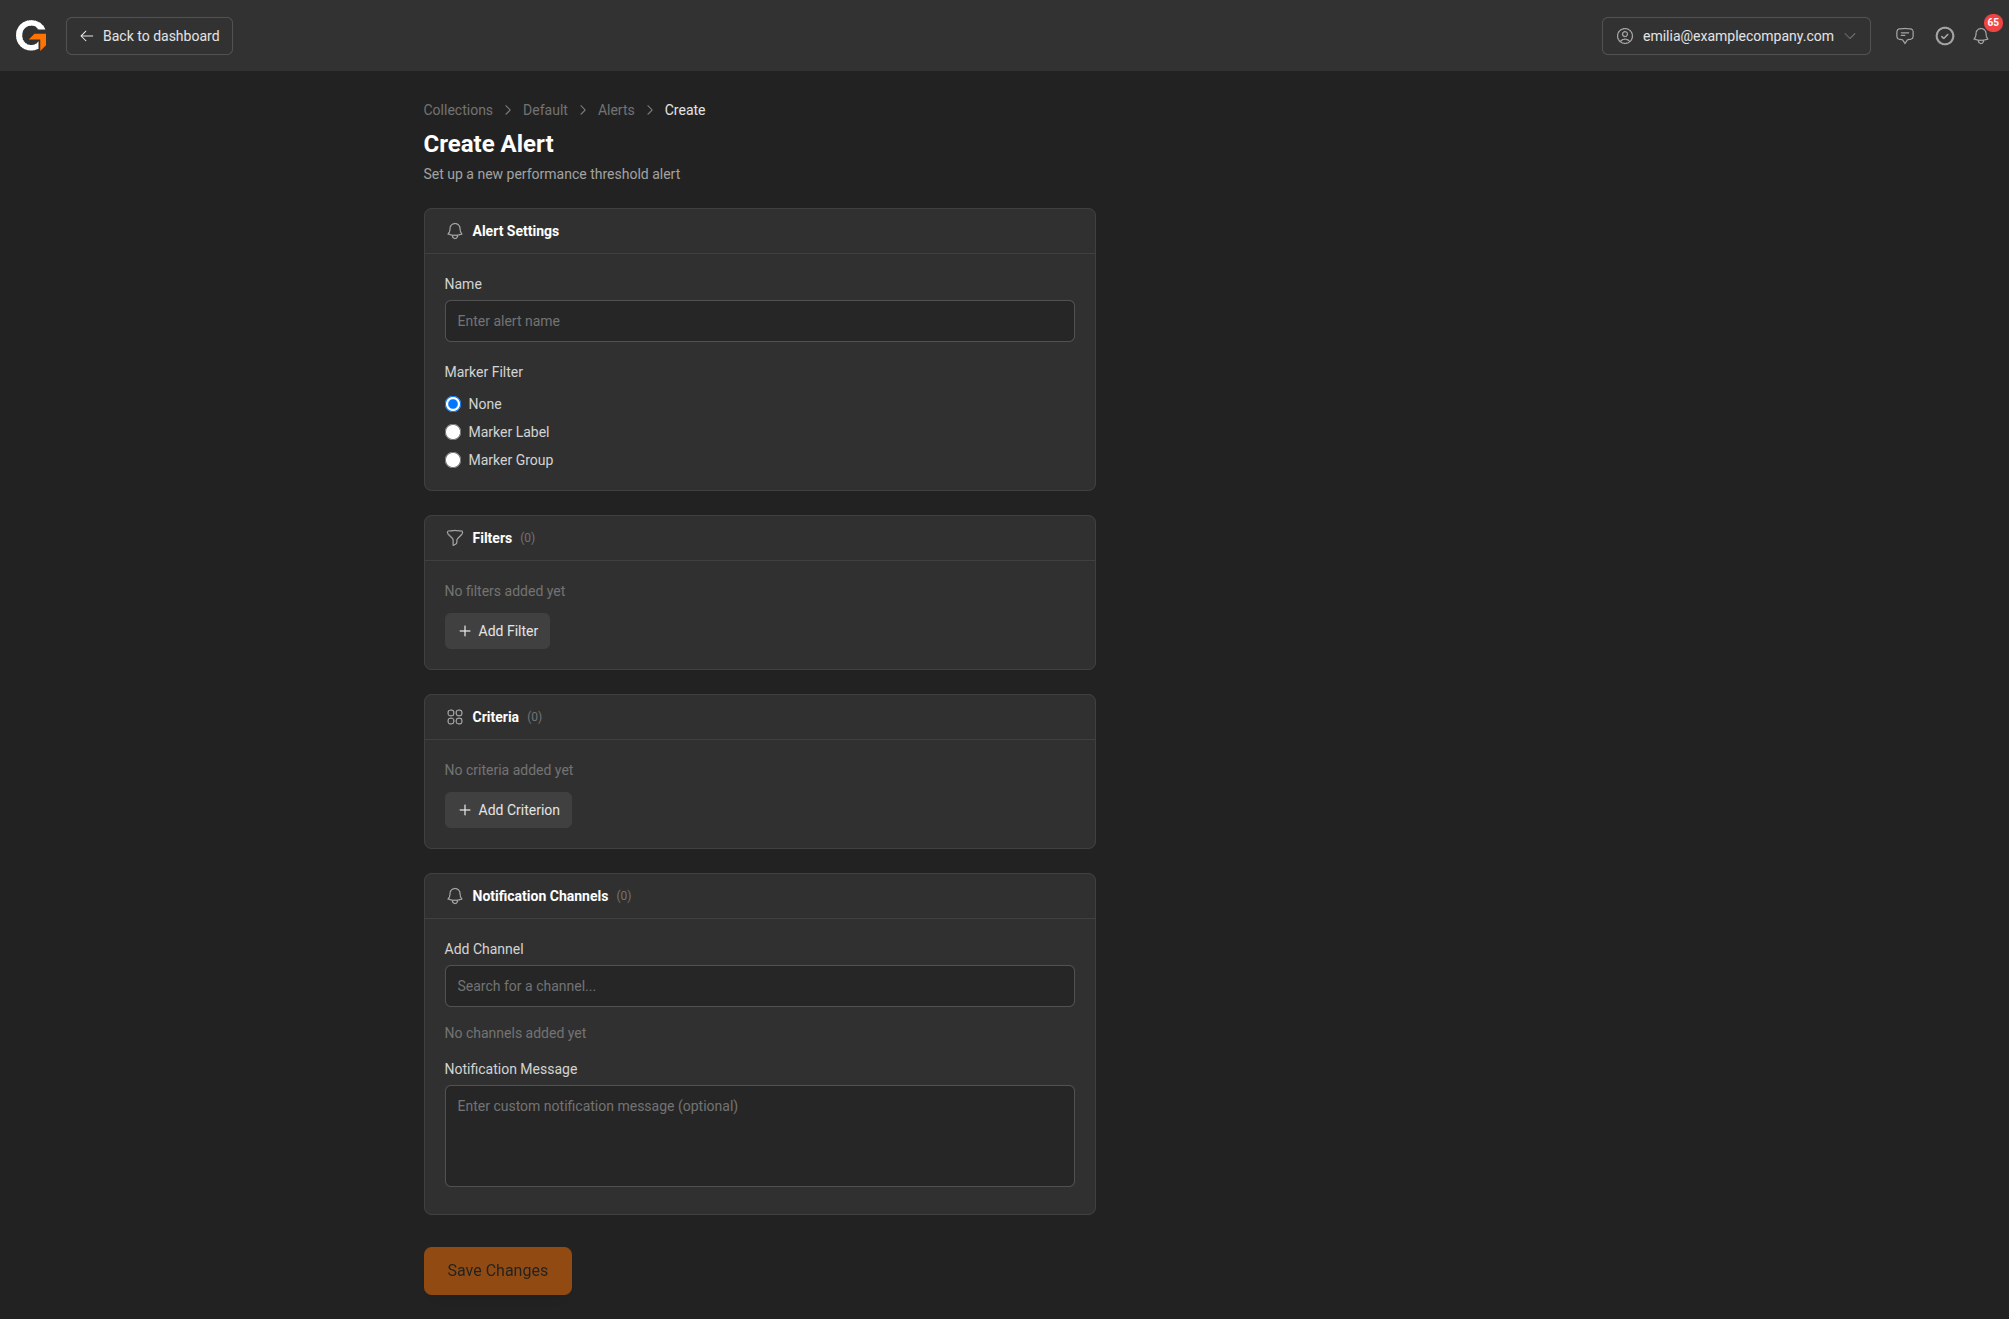
- Click Create Alert.
- Enter a Name for the alert.
- Optionally set a Marker Filter to scope the alert to a specific marker label or marker group.
- Add Filters to narrow which sessions trigger the alert (e.g., by app name, device, or tags).
- Add Criteria – these are the performance thresholds that trigger the alert (e.g., FPS Median < 30, Memory Peak > 500 MB).
- Assign Notification Channels to control where the alert is sent. You can also add a custom Notification Message.
- Click Save Changes.
Alerts can be deduplicated by app version, secondary app version, or tag to avoid duplicate notifications (configured in the collection’s basic settings).
Migration
Migrate existing sessions into a collection. This is useful when setting up a new collection or reorganising sessions from the Default collection.
Uploading Sessions via SDK
To upload sessions to a collection programmatically using the SDK, we recommend creating a dedicated automation user rather than using collection-level SDK credentials. An automation user is a standard user account with restricted permissions, allowing it to upload sessions without having broader access to your company’s data.
To set up an automation user:
- Go to My Company > Users and invite a new user with a dedicated email address (e.g.,
automation@yourcompany.com). - Assign the user the minimum required role for uploading sessions.
- Generate an API token for the automation user.
- Use the automation user’s credentials when configuring the SDK.
This approach gives you better control over access and auditing compared to the legacy collection-level SDK credentials.